OUR RETRO ROOM
The 2020 / 2021 lockdown had provided alot of thinking and reflecting time, and one of the things I have always wanted to do it regain the technology I used when I was growing up.
From that thought I had over the years, now was the right time to do it, so I proceeded with my Retro Room Project.
My
Retro Room
History
The 2020 / 2021 lockdown had provided alot of thinking and reflecting time, and one of the things I have always wanted to do it regain the technology I used when I was growing up.
From that thought I had over the years, now was the right time to do it, so I proceeded with my Retro Room Project.
I have owned many computers and systems over the years, and could keep going and going into the early 286 and 386 and 486 computers but I wanted to cut off at the home computer systems, as these had the greatest influence on my childhood and career path into this amazing world.
With the only viable resource being eBay to get hold of yesterday’s technology, I had to obtain systems as they became available, and another chapter began where I had to learn how to future proof and maintain the technology I was buying so it would last many years to come.
This involved learning alot more about electronics, and soldering components and reworking. So, even at this stage of my life, the first step was to get the system and once achieved, I had to learn how to fix the issues as they occured and add future proofing in to maintain the useability of the hardware.
Our Retro Room Journey
The first batch of eBay orders included:
- Amiga 2000 bundle
- Amiga 500 Plus bundle
- BBC Model
- Commodore 64 bundle
- BBC Model B RGB Cable
- Amiga RGBScart Cable

I then spotted a listing for Sony PS Joblot and for what was in the bundle and what it cost, I could not resist.
It was very well packaged, and when I tested out all of the consoles and the games everything worked perfectly.
I had acquired several consoles, controllers and games. A great deal.
The next item I ordered was to replace the faulty floppy drive in my Amiga 2000 so I ordered my first Gotek Floppy.
Another item I needed for my Amiga 2000 was an original Amiga 2000 Keyboard as it came with a USB keyboard with a converter plug. I found one on eBay.
My plan with my Amiga 2000 was to try and get it back to new condition, so one of the items I purchased from ETSY was a set of Amiga 2000 Badges. I still have a bit of work to do on the Amiga 2000, so have not fitted the badges to the case and keyboard yet.


Another issue with my Amiga 2000 was that the fan in the power suppy was very noisy.
Well, it was over 30 years old and probably full of dust and god knows what, so when I removed it and took off the cover, it was plastered and the fan had seen better days.
I sourced a new silent fan from Amazon, but as this was one of the first repair jobs I was going to tackle, I also decided on getting a replacement Amiga 2000 PSU from a website so if I broke the original one I would still have one to ensure my Amiga still worked.


I had tested my Commodore 64 when it arrived and loaded a couple of games that came on tape, and even though I enjoyed the trip down memory lane, waiting for games to load had long past the “fun” it once was.
I researched the internet and saw that there was now something that could hold Commodore 64 games on SD card and load from there. I ordered my first SD2IEC drive and it did not disapoint.
I connected both my Amiga 500 + and Amiga 2000 to my tv via Scart cables. The picture was pretty good, but as I have been using PC’s for along time now with hi resolution screens, I wondered if I could do anything to upgrade the picture quality on my Amiga’s.
I found a device called a Scandoubler which connected to the monitor port and converted it to be able to connect to a VGA monitor.

When my Commodore 16 failed just after I had purchased it, and before contacting the seller, I was not sure that the seller would offer to do anything, so not sure what the problem was I ordered a set of replacement chips from eBay (C16 Ted Chip, C16 PLA Chip, C16 CPU Chip) to see if they might be the problem.
The chips did not arrive for a while, so the seller had already offered and actually repaired my Commodore 16, so I ended up with some spare chips. I felt it was good to have spares anyway as they are known to fail, and are getting harder to find and more expensive.
With the success of the Gotek drive in my Amiga 2000, I decided to order another one to go in the Amiga 500+. There was nothing wrong with the internal floppy drive, but being mechanical it would not last forever, and I did not own any floppy discs, but had access to alot of Amiga software in the form of ADF files, so I ordered another Gotek drive and a Gotek External Drive Adapter so I could use it in the external port of the Amiga 500+.
On another search on eBay, I decided to order a Joystick Adapter for my Commodore 16 as they have different ports to the other Commodore computers in the retro room. This would allow me to use the same joysticks on all the kit in the retro room.
I also thought it wise to order the Commodore 64 Diagnostic Harness to help me find and fix issues if and when they arose.
Adding to the idea of trying to get my Amigas to display the best quality image I now needed a VGA monitor to connect to to complete the look and feel I was going for. In my original setup I owed a couple of Philips CM8833 monitors and although they are still available on eBay today, they are both very expensive and hard to courier from one place to another without damage. My idea was to try and find a white VGA flatscreen monitor, and by luck I found a 15″ Philips VGA Monitor. It was square and not the current 16:9 stuff we have today and it was white and it was Philips, so its the modern equivalent of my old monitor. I connected this up to my Amiga 500 via the scan doubler, and the picture was amazing. RESULT!
My Amiga 500+ came with a Kickstart 3.1 ROM and my Amiga 2000 came with a dual boot Kickstart 1.3 and 2.04 ROM. I removed the dual boot adapter from the Amiga 2000 and ordered another Kickstart 3.1 ROM so both machines run on the same level to maximise compatibility and have the latest ROM available for both machines. I also ordered the Amiga Diagnostic ROM 1.2.1 chip so I could diagnose any issues that may develop on my Amigas. My future plan is to install dual boot adapters on both Amigas with one DIAG rom in each machine. This would help prevent having to open up each Amiga and replace the ROM for the diag ROM each time I wanted to run the diagnostics.
Now my Amiga 500+ had an internal floppy drive and an external Gotek drive, I needed a way to make the external one boot instead of the internal one. To enable this, I purchased an A500 Boot Selector which sits under the CIA chip. With a switch you can enable the external gotek as DF0: to enable the software on the Gotek properly. At the flick of a switch, I can use the internal floppy as and when needed.
While using the SD2IEC on my Commodore 64 I tested it by loading Rambo First Blood Part II and noticed on the famous loading screen that is didn’t sound right, but was not 100% sure. I went to my emulator and loaded it, and sure enough it sounded different. After a bit of research I decided to purchase a replacement SID chip. Once it arrived and was installed, it now sounds just as I remember. RESULT!
For the next upgrade to my Amiga 500 was something called the ACA500+. This connects to the side port of the 500 and provides a huge range of benefits such as performance increase, kickstarts, but my main requirement was to have a CF hard drive. I did not want to purchase the old technology with mechanical hard drives becuase they are another point of failure from the past. I ordered my ACA500+ which arrives naked and I wanted it to look abit more Amiga like, so found someone on the internet who created a 3D printed case. I ordered one and when it arrived it was very disapointing. I went back to the internet and found another 3D printed case, and this time it was just what I was looking for.
Now my Amiga had the ACA500+ and an external Gotek drive, and I then wanted to make it more like one part by modding the case and adding some bits. The one I chose were a 3D printed Gotek Rotary case to add a roatary switch and LCD screen so I could scroll through the software on the Gotek drive and easily see the titles. In addidion, I also purchased the Gotek sound module to provide a little audio feedback when reading the files. I tried a couple of different ways joining the hardware together, and I do want to revisit it to make it more like a finished product as its 3 layers at the moment. I also purchased a long data and power cable to the Gotek could sit on top of the ACA500+.
After I got my first VIC-20 I was still disapointed with how yellow the case was and for me, that the keyboard was the same type as the Commodore 64. I wanted a much lighter case to represent what the VIC-20 actually looked like when new, and I wanted a keyboard with the original orange function keys. I purchased another VIC-20 without any peripherals and then swapped bits around to have the best working
VIC-20 in my collection. This leaves me with a spare VIC-20 should I need any chips etc in the future. I also decided to get the VIC-20 diagnostic harness to help with any issues that may arise in the future.
My Commodore 16 stock works well, but just in case I purchased the Commodore 16 diagnostic cartrige to help fault find if required.
In efforts to future proof my home computers my research informed me there was an imminent danger from the stock PSU on the VIC-20, Commodore 64 and Commodore Amiga. These machines have PSU’s that are decades old and are prone to providing over voltage to the computer they are connected to. This can have the result of a perfecly working machine one day, and the next time you turn it on, you get green screens, black screens etc. This is because the voltage supplied goes above what is regulated and the old chips die when you turn it on. Luckily, there are modern replacement PSU’s on the market today so I got a replacement PSU for the VIC-20, Commodore 64 and Amiga 500. They are not cheap, but on balance of having a broken machine, having to do the diagnostics, replace hard to get and expensive parts, and get a replacement PSU at the end, it was the most sensible solution.
With the success of the SD2IEC drive attached to my Commodore 64, I purchased a black one for my Commodore 16. Apart from being black to match the Commodore 16, it also has different cables due to the different ports on the Commodore 16. It performs just as good as the Commodore 64 version (exactly the same, in fact), but when I loaded up some games, some didn’t work and gave error messages. I later found out that the games I tried to load were written for the Plus/4 which has 64k of RAM so this was another project I would look into later.
To compliment my diag chip for my Amigas, I thought it would be a good idea to get a set of replacement chips while the price was low, as they will only go up over time. I ordered the two CIA chips, the Paula chip, the Gary chip and finally the FAT Agnus. I did have cause to use these chips as my Amiga 2000 developed some issues, and now these chips live in my Amiga 2000. They did not solve the issues I have with the machine but it was very useful to have them for diagnostic use.
The next two items I purchased were for the Commodores which were a Tape Head Aligner cartridge and a C16 Datasette Adapter so the Commodore 16 tape drive could also be connected to the Commodore 64 or VIC-20 if needed.
The joystick of choice for my retro machines was the original Atari single orange button joystick with the back rubber handle. I had lots of these growing up as they could not really stand up to the hard workout they got, but still remained my favourite joystick. I found an eBay listing for 2 of these joysticks in very good condition, so added them to my collection.
My BBC computer came with the MMC adapter full of BBC software which I could only play on the keyboard. To fix this I got a BBC Joystick Adapter so I could now play games with a joystick.
As mentioned earlier, I wanted to play all the games available for the Commodore 16, but the original machines RAM was insufficent. I found a kit on the internet which involved desoldering some of the chips and adding a power adapter to the motherboard. I was nervous to operate on my current Commodore 16, and felt if I made a mess of it I would end up with a broken machine. I returned to my humble eBay to see if I could find a cheap Commodore 16 motherboard. I found one going cheap as a spares or repair without chips, and because I already had the required chips, I obtained this board and would use it to upgrade to 64k.
When the Commodore 16 RAM upgrade kit arrived it involved quite an operation to remove chips off the motherboard and add certain bits. I performed this operation successfully on the cheap eBay board and later found a solution that was much easier by adding the kit underneath the TED chip. This did not involve any soldering etc so I got this kit and now both my Commodore 16’s are 64K models.
Even though I never owned any Sinclair machines, I felt it was only right to add the original ZX Spectrum 48k to my collection as its an iconic machine and one of historical significance. I viewed listings on eBay and found a great bundle going with a specky in great condition. Like the other machines purchased, I had to get a Diagnosic Cartridge and the SD Card drive to load games quicker. When the SD Card drive arrived it would not work correctly, and after some research I found out my specky had the famous M1 issue with the CPU. To fix this, I purchased a replacment Z80 CPU and socket. As part of the motherboard revamp, I installed the CPU socket, and the replacment CPU and at the same time installed the DC Converter to remove the original that gets very hot and required the large metal heatsink. The machine has now all these parts fitted and works perfectly and remains cool.
As a generic tester, I purchased a joystick tester kit, and assembled it. I now have an led joystick tester.
During the hunt for my collection, two systems still remained on my list. One was the Apple Macintosh and the other was the Amstrad PCW8256. The issue these two had in common was that the both have integrated CRT screens. Over the months collecting vintage hardware I spoke to many eBayers and the main issue is that no matter how well packaged the parcel, the courier still manages to deliver a broken screen or cracked case where CRT machines are concerned. Most listings were reasonably priced but were collection only, which is not really an option during lockdown.
Every month I reviewed the eBay listings and finally I found the first of the two machines, the Amstrad PCW8256 and keyboard. It arrived and worked as described but stank to high heaven of being used in a smoker environment. I took it apart and gave it a thourough clean and now smells much better. The system was still, however, incomplete. I needed a printer, so returned to eBay and found a cheap PCW8256 printer that only needed a replacement printer ribbon. Once it all arrived, I connected it up and tested it and along with a PCW8256 Manual from eBay I now have the machine I wanted, working with Locoscript and printing just like the old days. I also discovered that I could populate the empty RAM sockets on the motherboards to make the PCW8256 into a PCW8512, so purchased the chips and upgraded the RAM.
The last machine to arrive in my Retro Room was the one I had wanted for decades – an Apple Macintosh. I finally found a listing that was reasonably priced that would deliver. It was an Apple Macintosh Classic II, and despite this not being the exact model I wanted, it was delivered well packaged and worked as described. This had already been future proofed prior to delivery and booted as expected and took me right back to 1987. It has an internal hard drive with some old Apple software, and my final project with the Mac is to replace the hard drive with an SD Card solution to remove the mechanical drive noise, heat and point of failure. The internal fan is also very noisy so that will be replaced with one of the silent fans I have used on other machines. This one is slightly more tricky as its buried in the guts of the machine and I will have to disassemble the Apple and discharge the CRT which can be tricky. Once that task is complete I will have a system to my satisfaction.
To complete my Commodore collection, I purchased an Amiga 1200 which had already been recapped and had the CF hard drive conversion done. To add to this I purchased a Gotek 1200 floppy 3D printed bracket and CF bracket so I could install the CF card in the rear trap door so I could insert CF cards externally. I also purchased a Scandoubler kit so I could create my own flickerfixer / converter to VGA which connects to the 15″ monitor previously connected to the Amiga 500 and 2000. This has been replaced with a Philips 17″ white VGA monitor. I also added the Gotek Display 3D printed box on top of the Amiga 1200 with rotary to use the gotek media easier and finally upgraded the kickstart roms from 3.0 to 3.1 for maximum compatability and so all my Amiga’s are on the same kickstart.
Additional Items
During the building of my retro room I had to purchase additional items that were needed to complete the room and some to style to room with a retro feel.
They include:
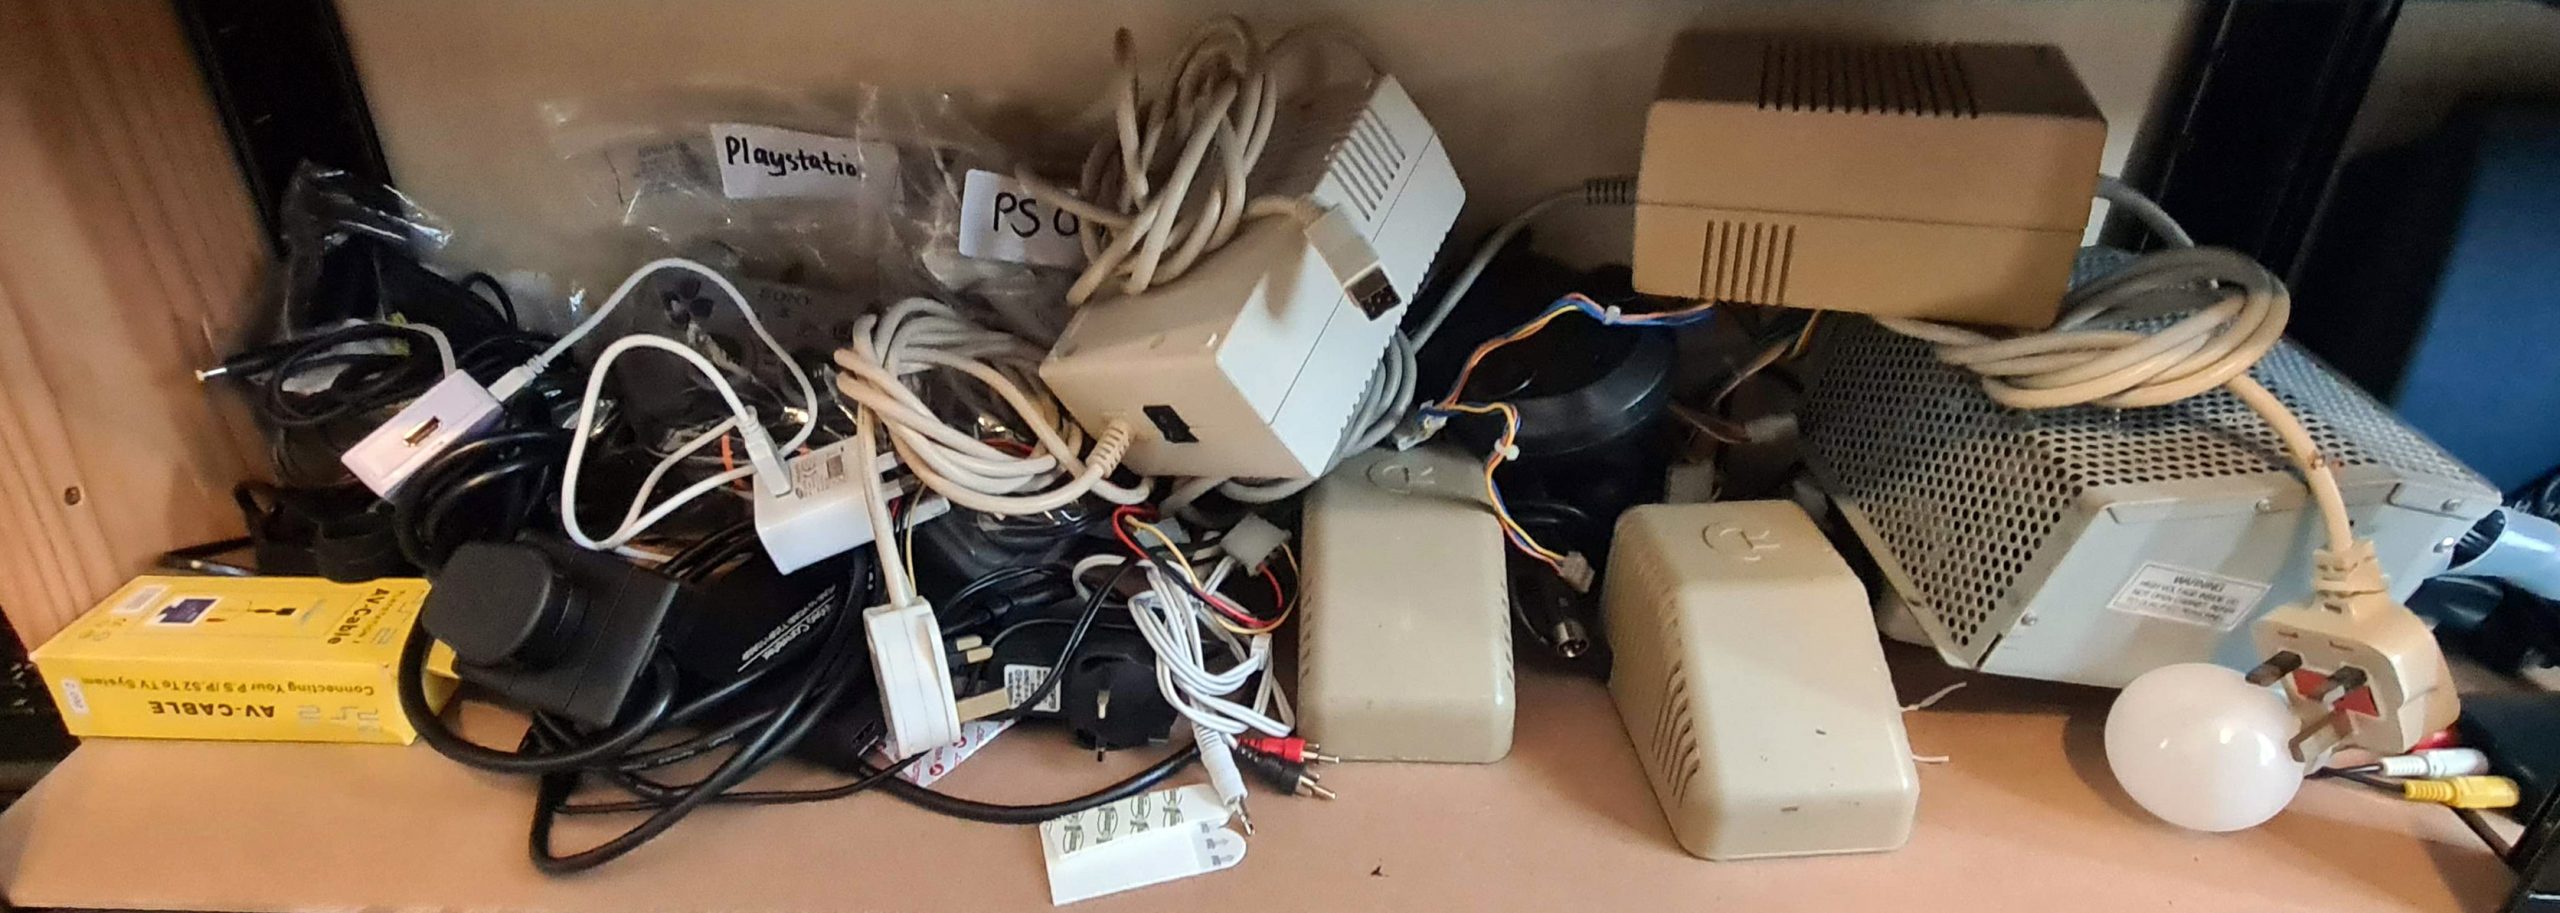
- Garage Shelving Units
- 6 Way Power Extension Cables
- SCART & HDMI TV
- SCART to HDMI converter
- VGA Screen Sharer
- 5 Port SCART Sharer
- VGA Monitor (for spectrum)
- Phono to HDMI converter
- HDMI to VGA converter
- Magnetic label holder
- Various retro computer art as jigsaws
- Space invaders sponge pieces (upgraded to magnetic stickers on rear connected to metal white board)
- Commodore Logo
- Commodore 16, BBC, Commodore 64 and Amiga 500 Raspberry Pi Cases
Summary
I have really enjoyed my Retro Room project which has been such a worthwhile undertaking.
I now have a large collection of equipment that I have used during my lifetime and provides so many happy memories and a reminder of how things used to be.
As the start I felt I could just purchase the equipment and that was it, but by the end my appreciation of the kit has grown, and I have learnt new skills to help futureproof and maintain the equipment going forward.
The Retro Room
The C64
Commodore VIC-20
Commodore 16
Commodore 64
Amiga 500 Plus
Amiga 2000
Amiga 1200
Amstrad PCW8256
Atari 2600 Woody
BBC Model B
ZX Spectrum 48
Apple Macintosh Classic II
Texax Instruments TI-99/4A
Odroid 64
Summary
I have really enjoyed my Retro Room project which has been such a worthwhile undertaking.
I now have a large collection of equipment that I have used during my lifetime and provides so many happy memories and a reminder of how things used to be.
As the start I felt I could just purchase the equipment and that was it, but by the end my appreciation of the kit has grown, and I have learnt new skills to help futureproof and maintain the equipment going forward.
The Retro Room
The C64
Commodore VIC-20
Commodore 16
Commodore 64
Amiga 500 Plus
Amiga 2000
Amiga 1200
Amstrad PCW8256
Atari 2600 Woody
BBC Model B
ZX Spectrum 48
Apple Macintosh Classic II
Texas Instruments TI-99/4A
Odroid 64


Tools & Misc

SOLDERING, DESOLDERING REWORK STATION
The Repairing System is a reworking equipment that combines the functionality of Hot Air Gun and a lead free compatible Soldering Iron in one package.
It has several safety features such as the auto-cooling process of the Hot Air Gun. This functionality protects the device (and its components) from excessive heat by blowing air at maximum flow to rapidly cool down the temperature of the heating element.
It has several advanced features such as Centigrade and Fahrenheit selection, hot air gun / solder iron digital calibration, configurable auto sleep for hot-air and soldering iron. Finally, the unique, innovative design with digital control panel and display provides precision, safety, and ease of use to match all reworking requirements.
DESOLDERING STATION
A high-performance desoldering station which provides a continuously controlled supply of heat suitable for desoldering all types of components, and allows easy removal of the residual solder sensor in tip checks temperature quickly and decreases tip temperature falling off during operation.
Quick heat and 80W power for convenient and clear soldering/desoldering of DIP components suitable for lead-free applications
Vacuum pressure: 600mm Hg
Ceramic heater element

DESOLDERING STATION
A high-performance desoldering station which provides a continuously controlled supply of heat suitable for desoldering all types of components, and allows easy removal of the residual solder sensor in tip checks temperature quickly and decreases tip temperature falling off during operation.
Quick heat and 80W power for convenient and clear soldering/desoldering of DIP components.
Suitable for lead-free applications.
Vacuum pressure: 600mm Hg
Ceramic heater element
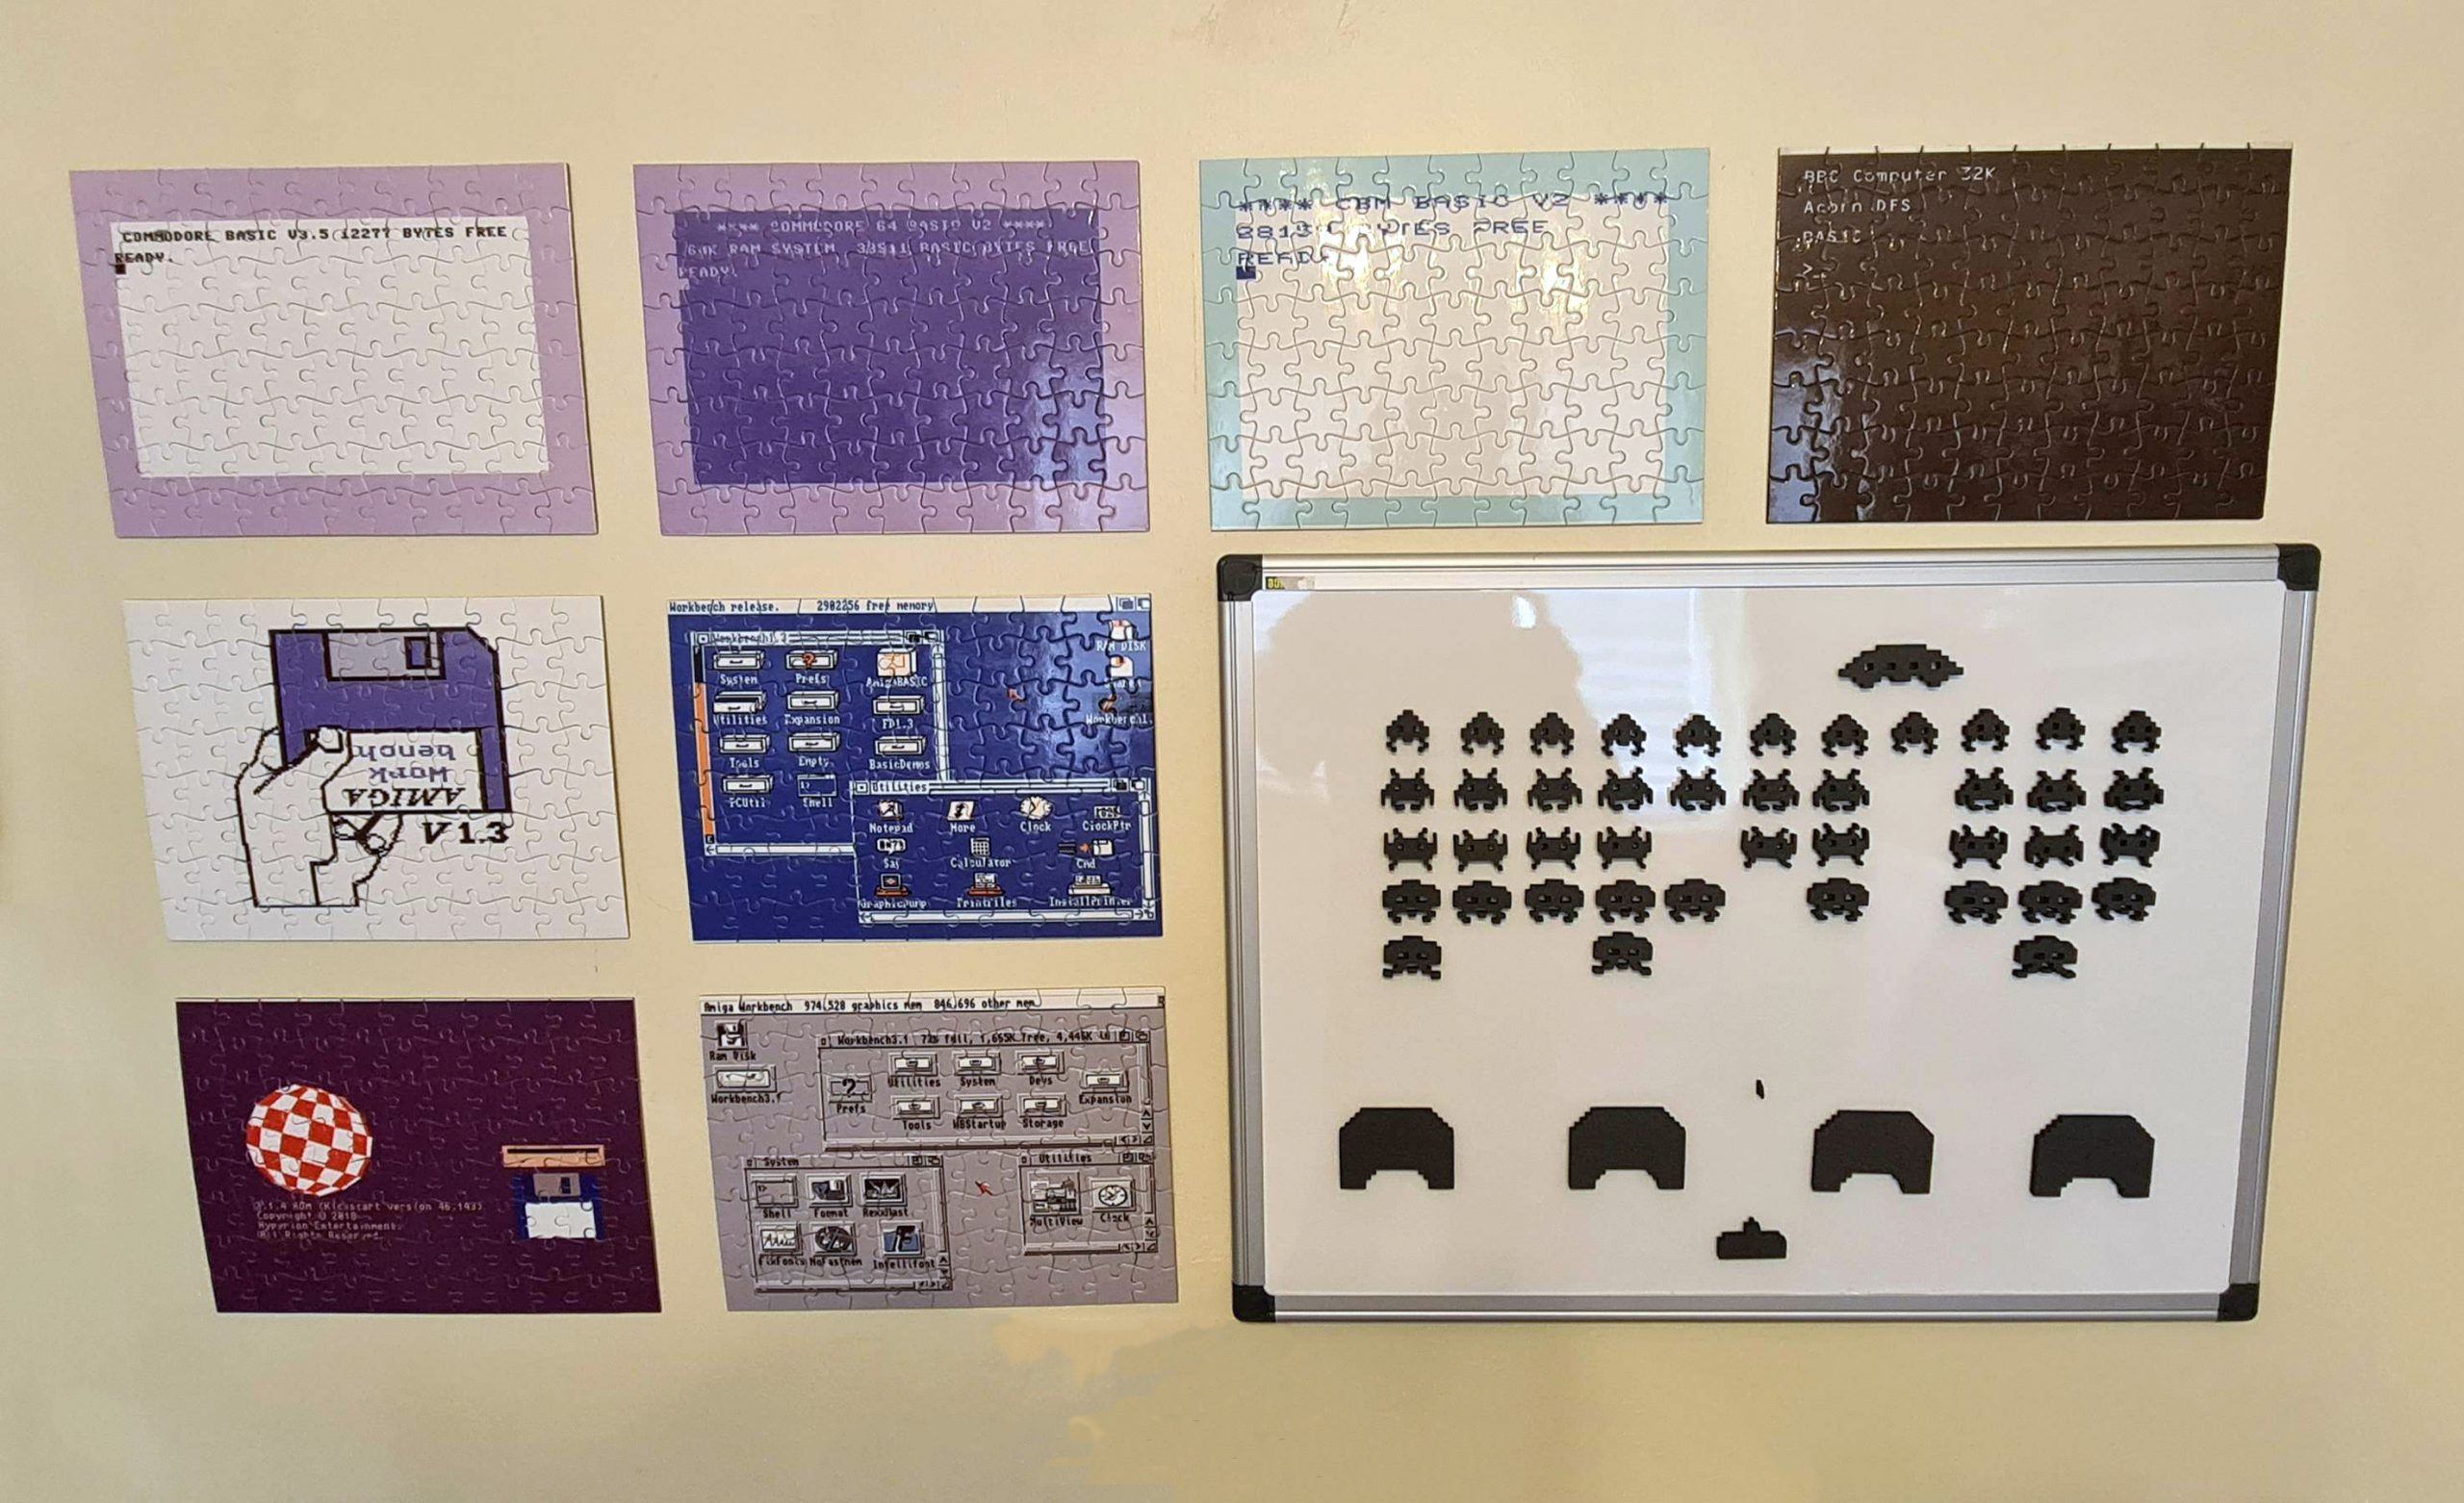
OS Plus Invaders
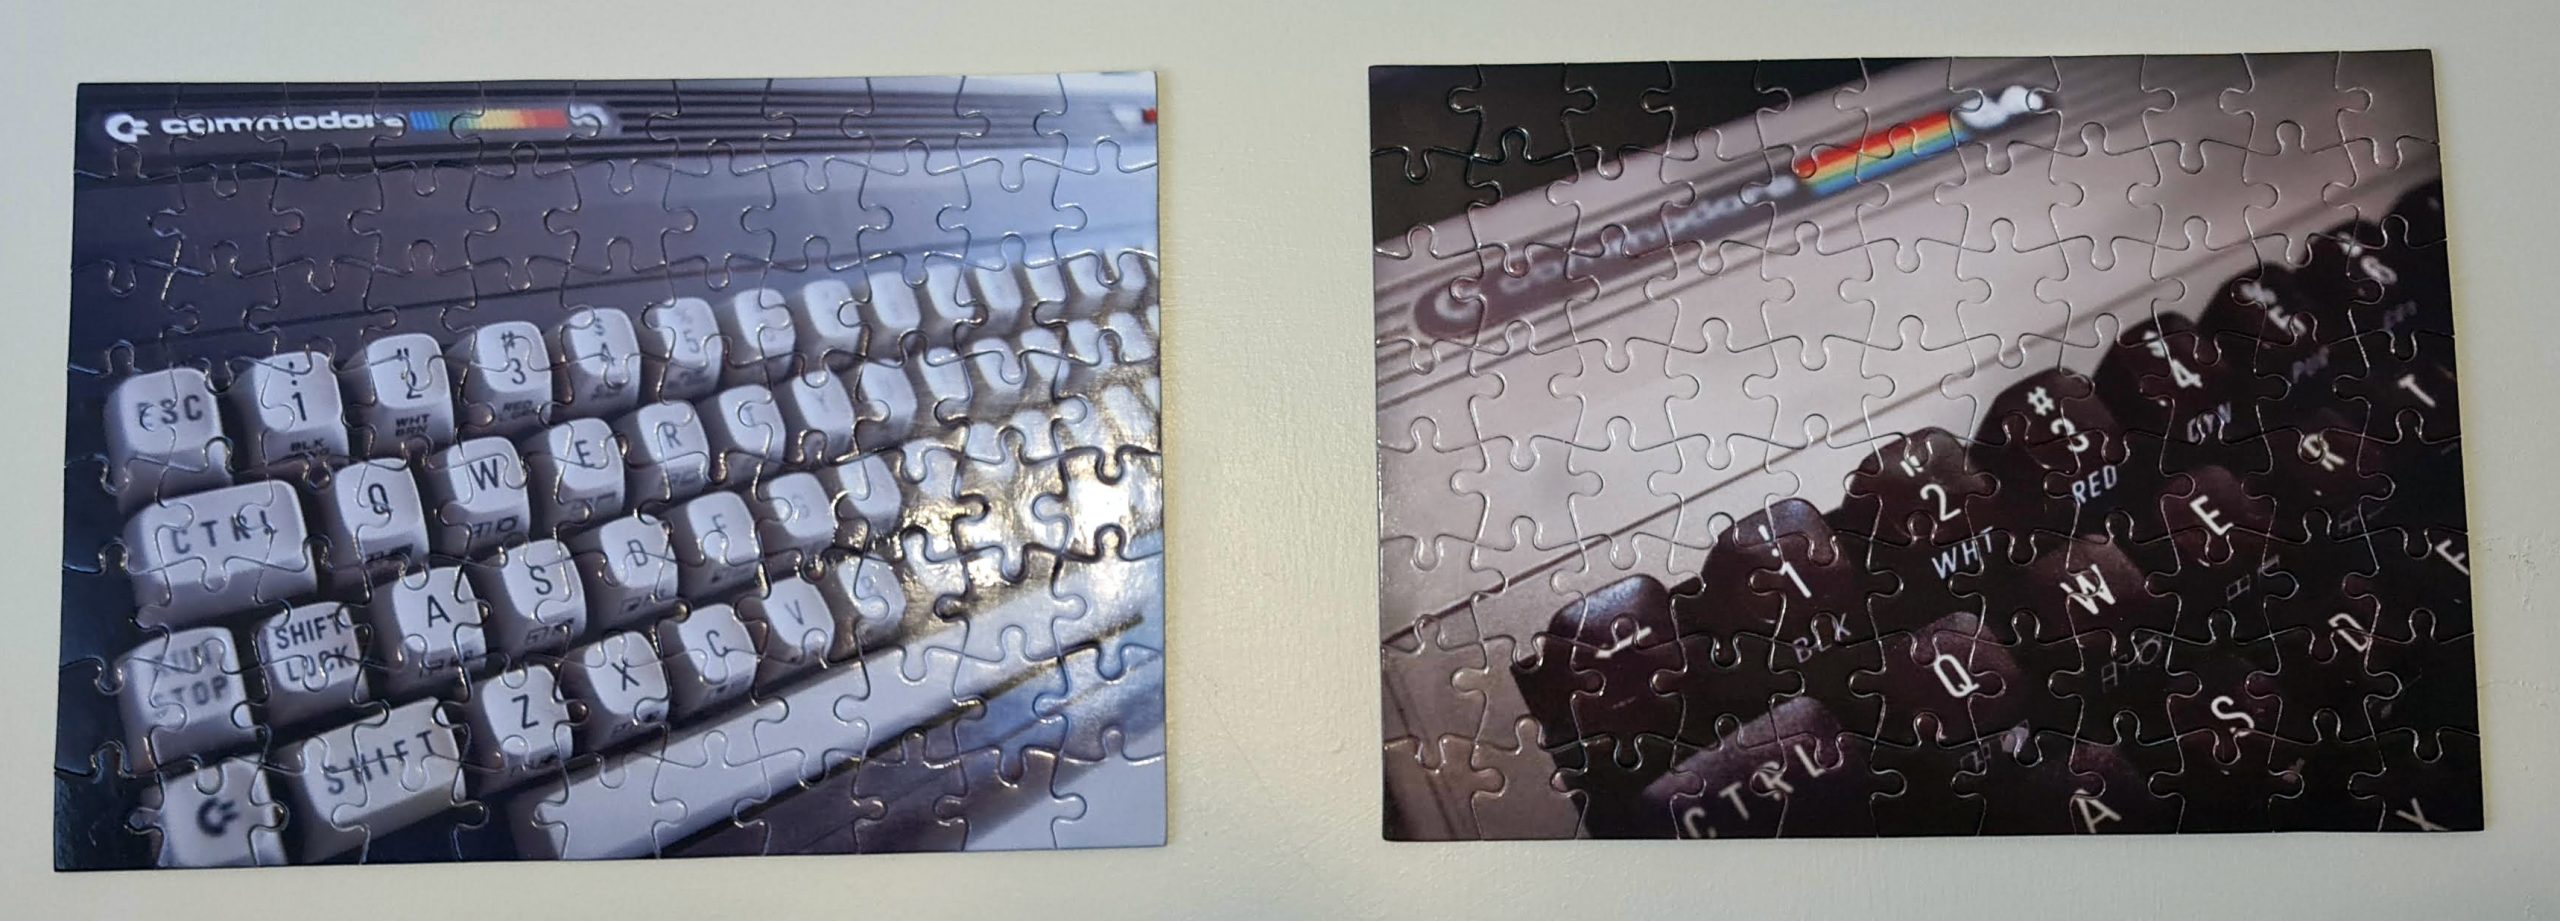
C16 Plus C64 Jigsaw art
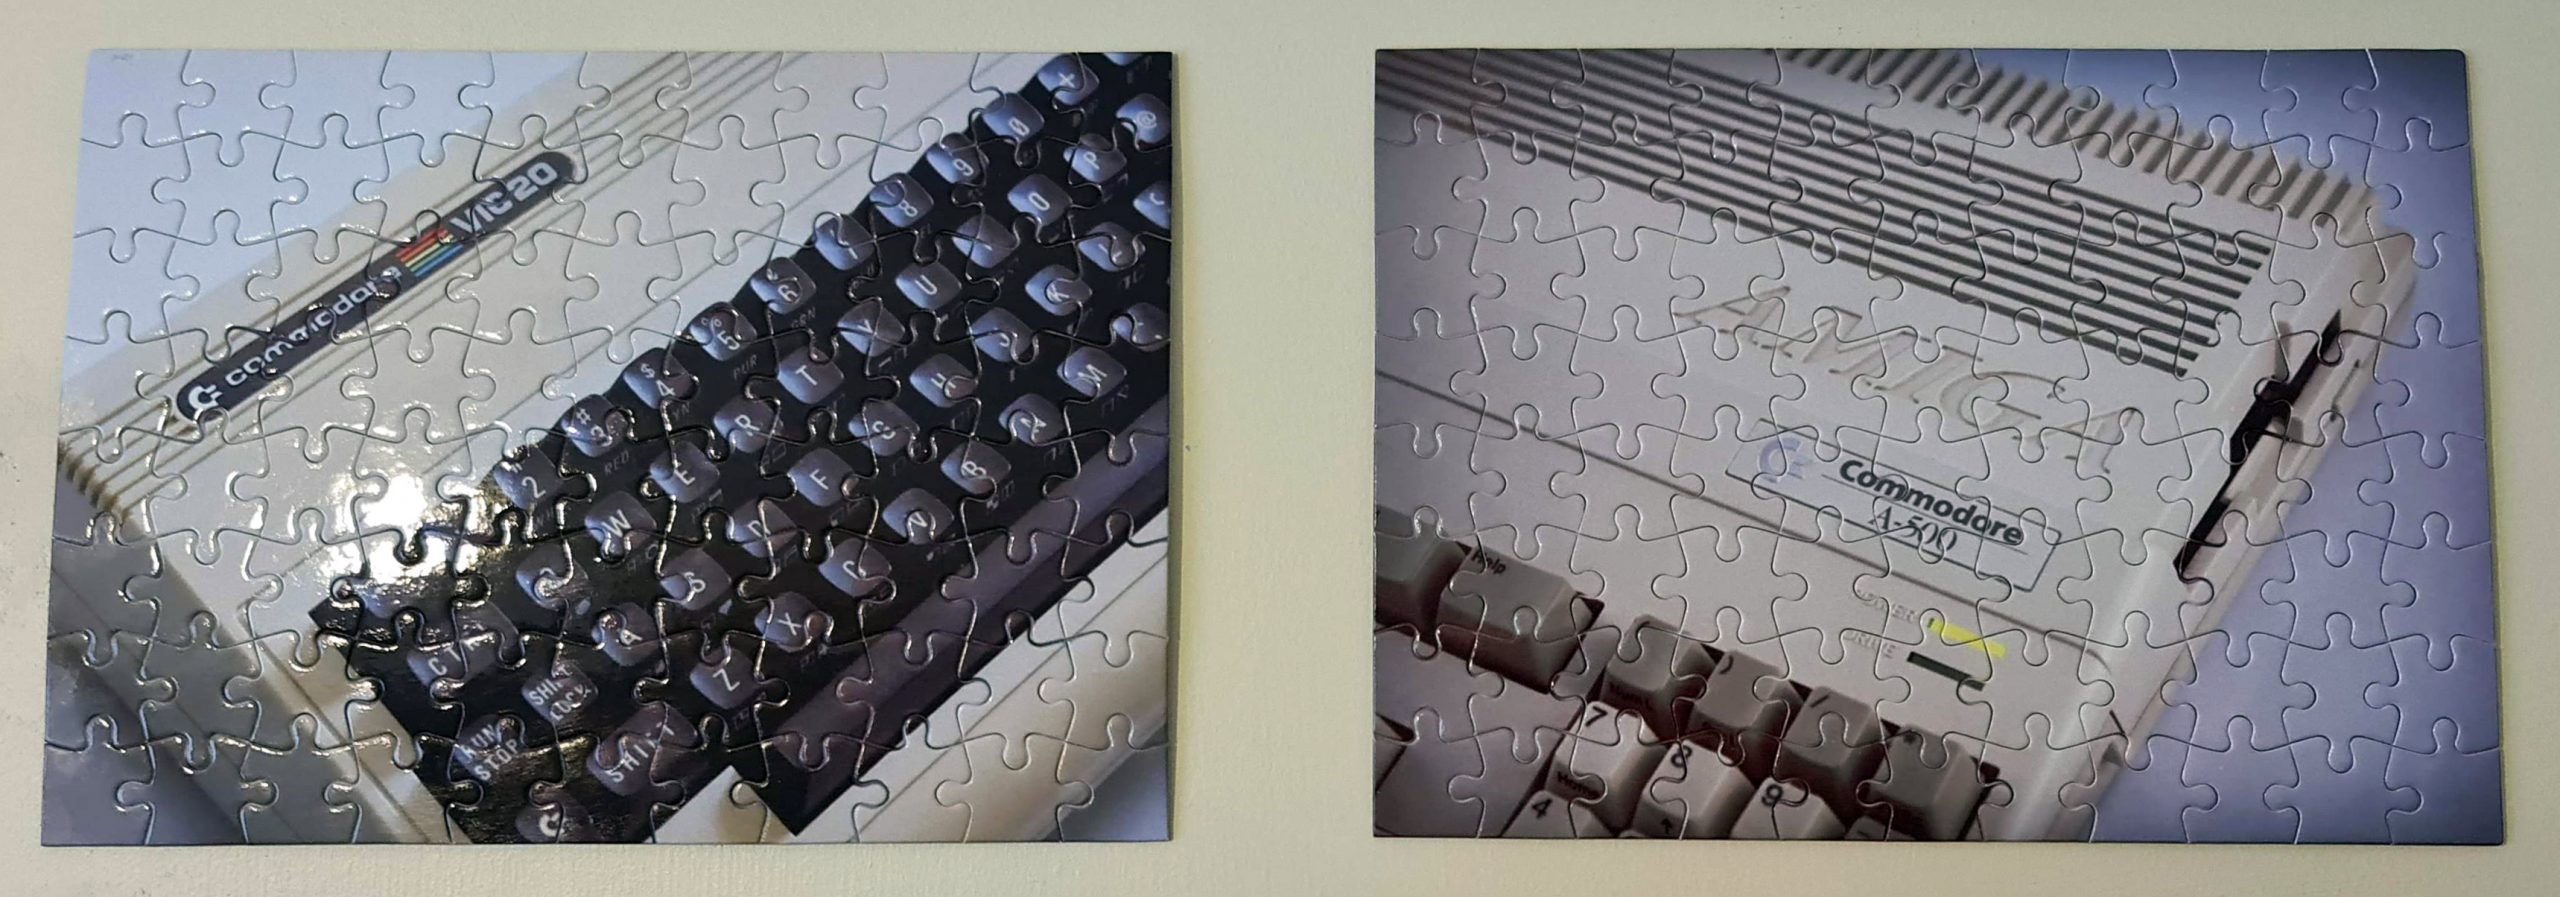
Vic20 Plus A500 Jigsaw Art
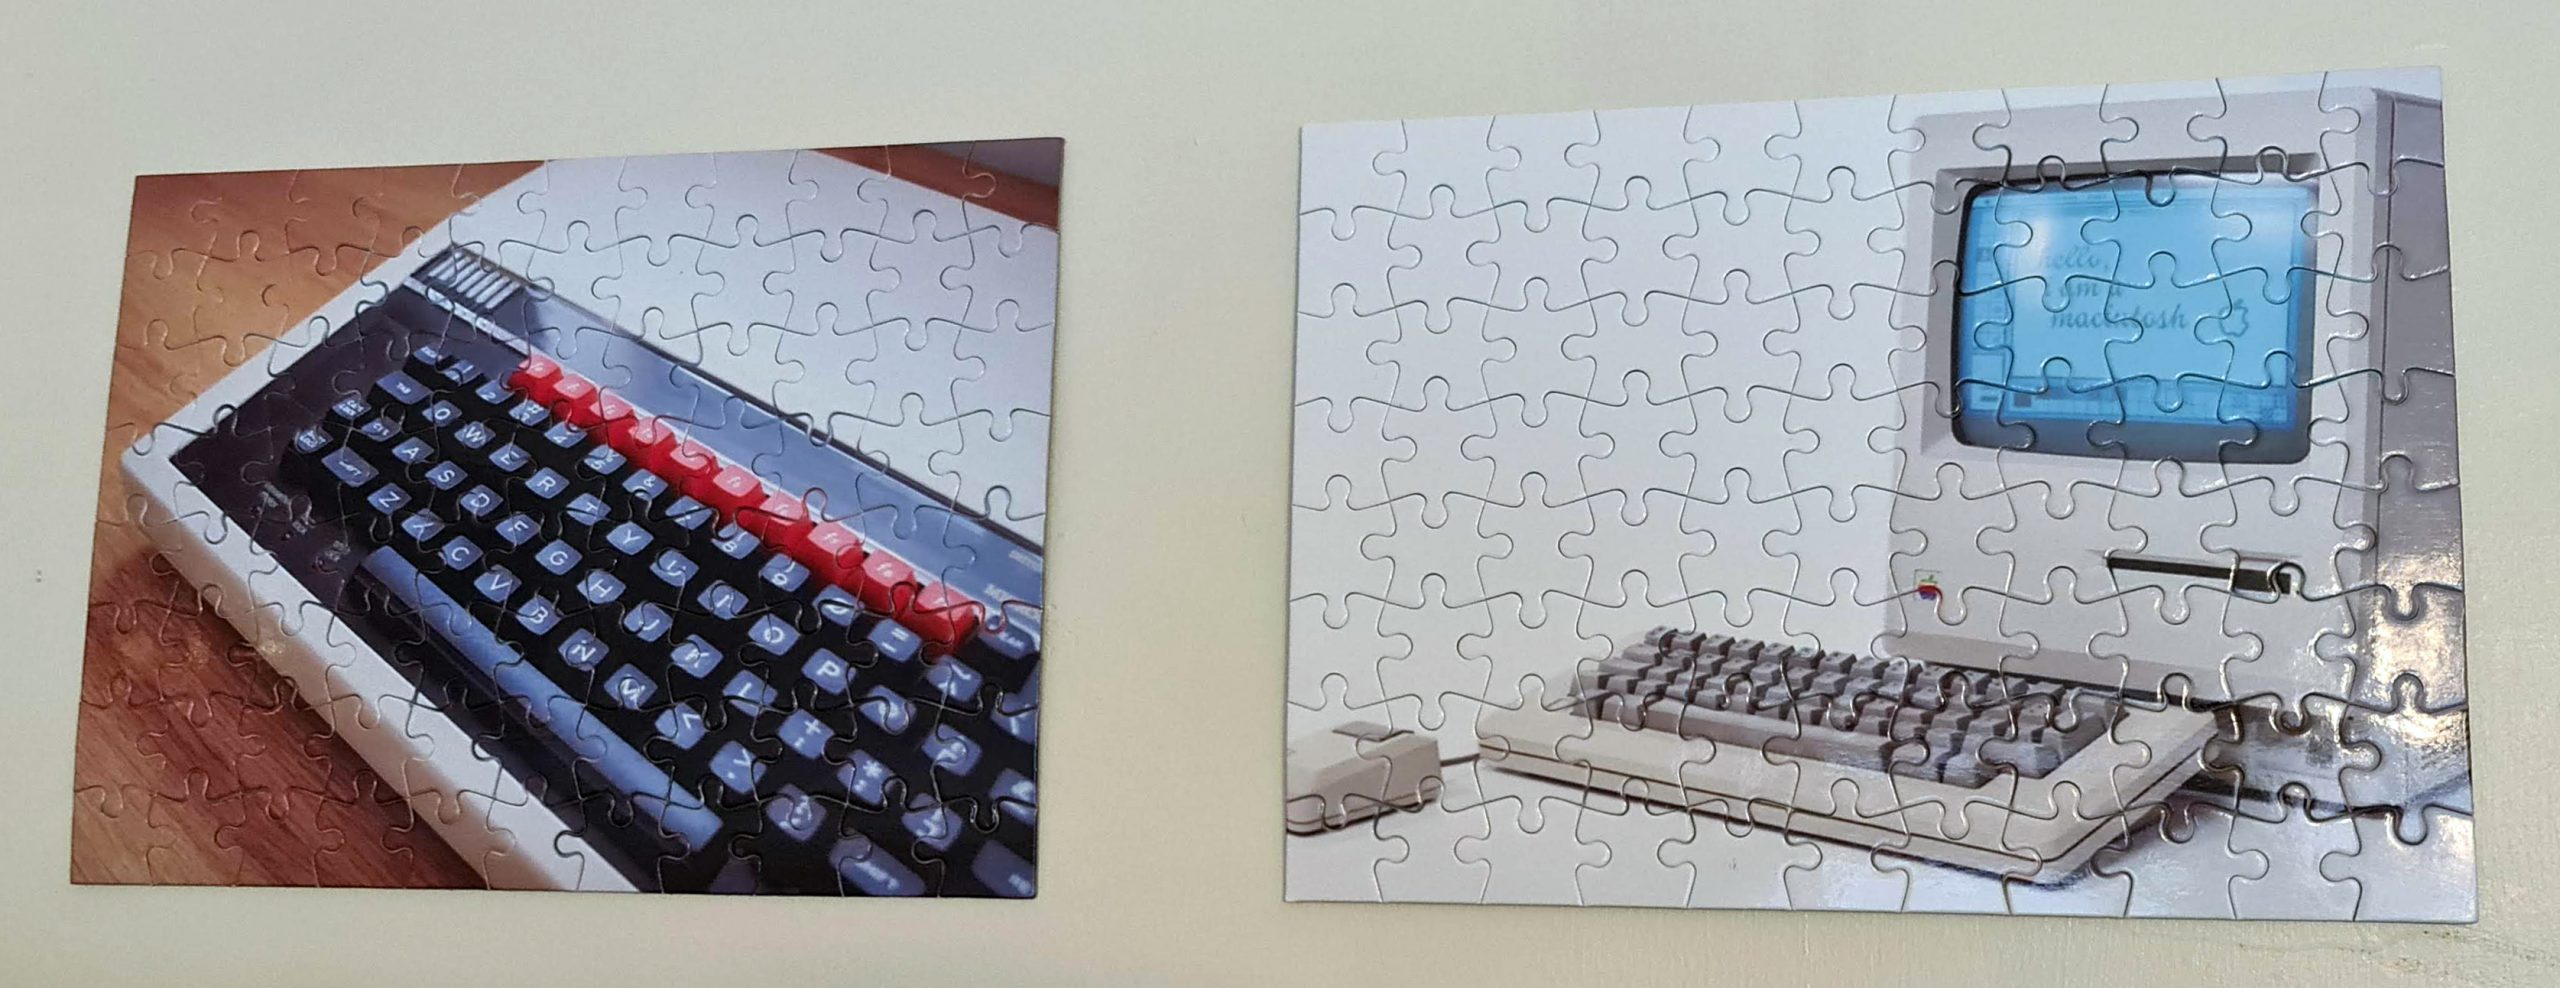
BBC Plus Mac Jigsaw Art
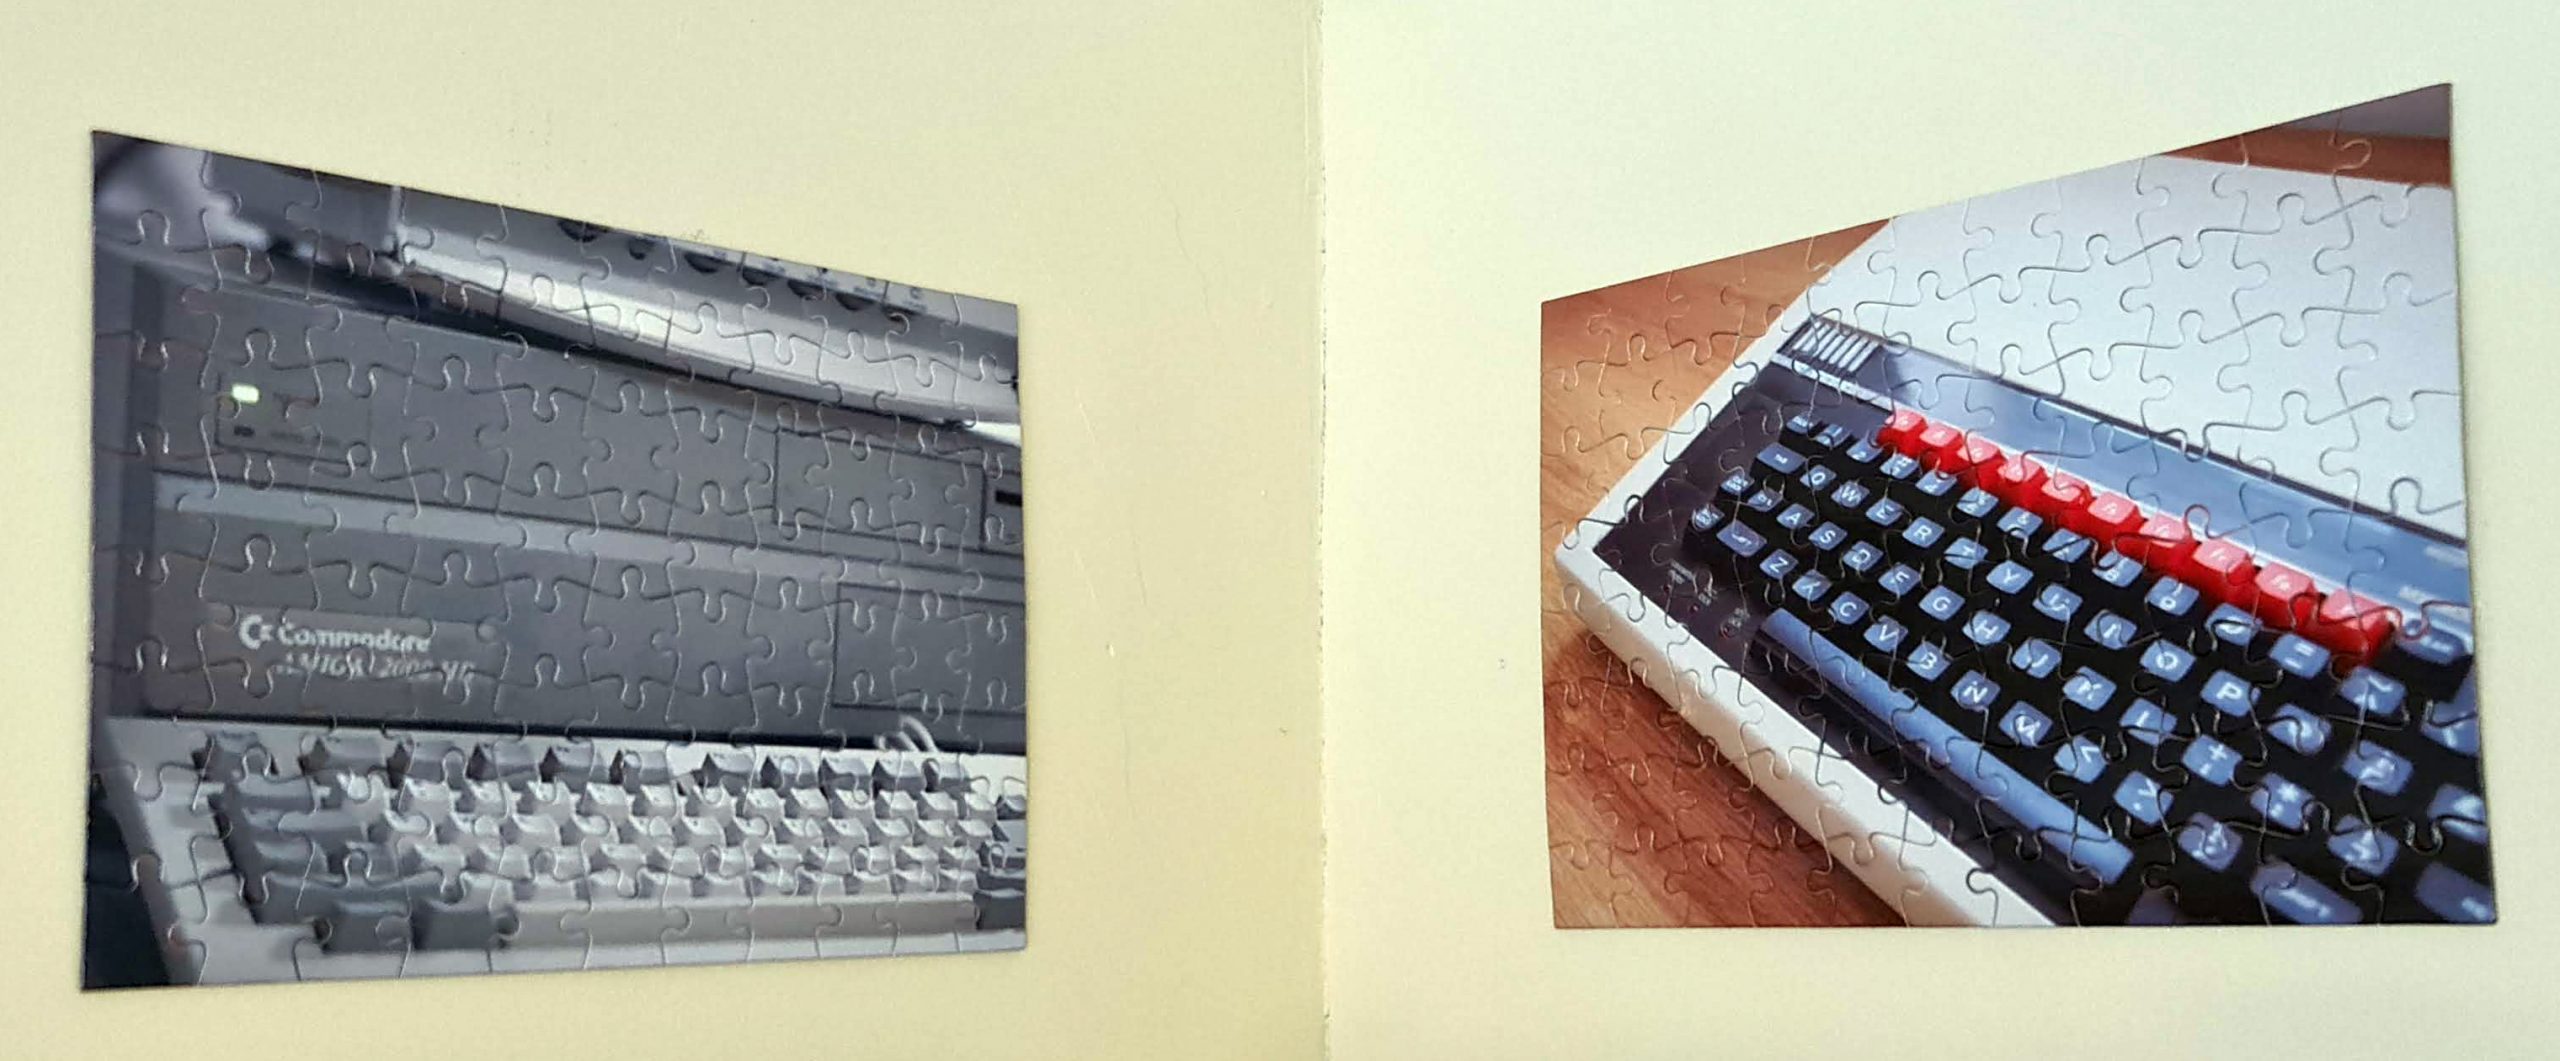
A2000 Plus BBC Jigsaw Art
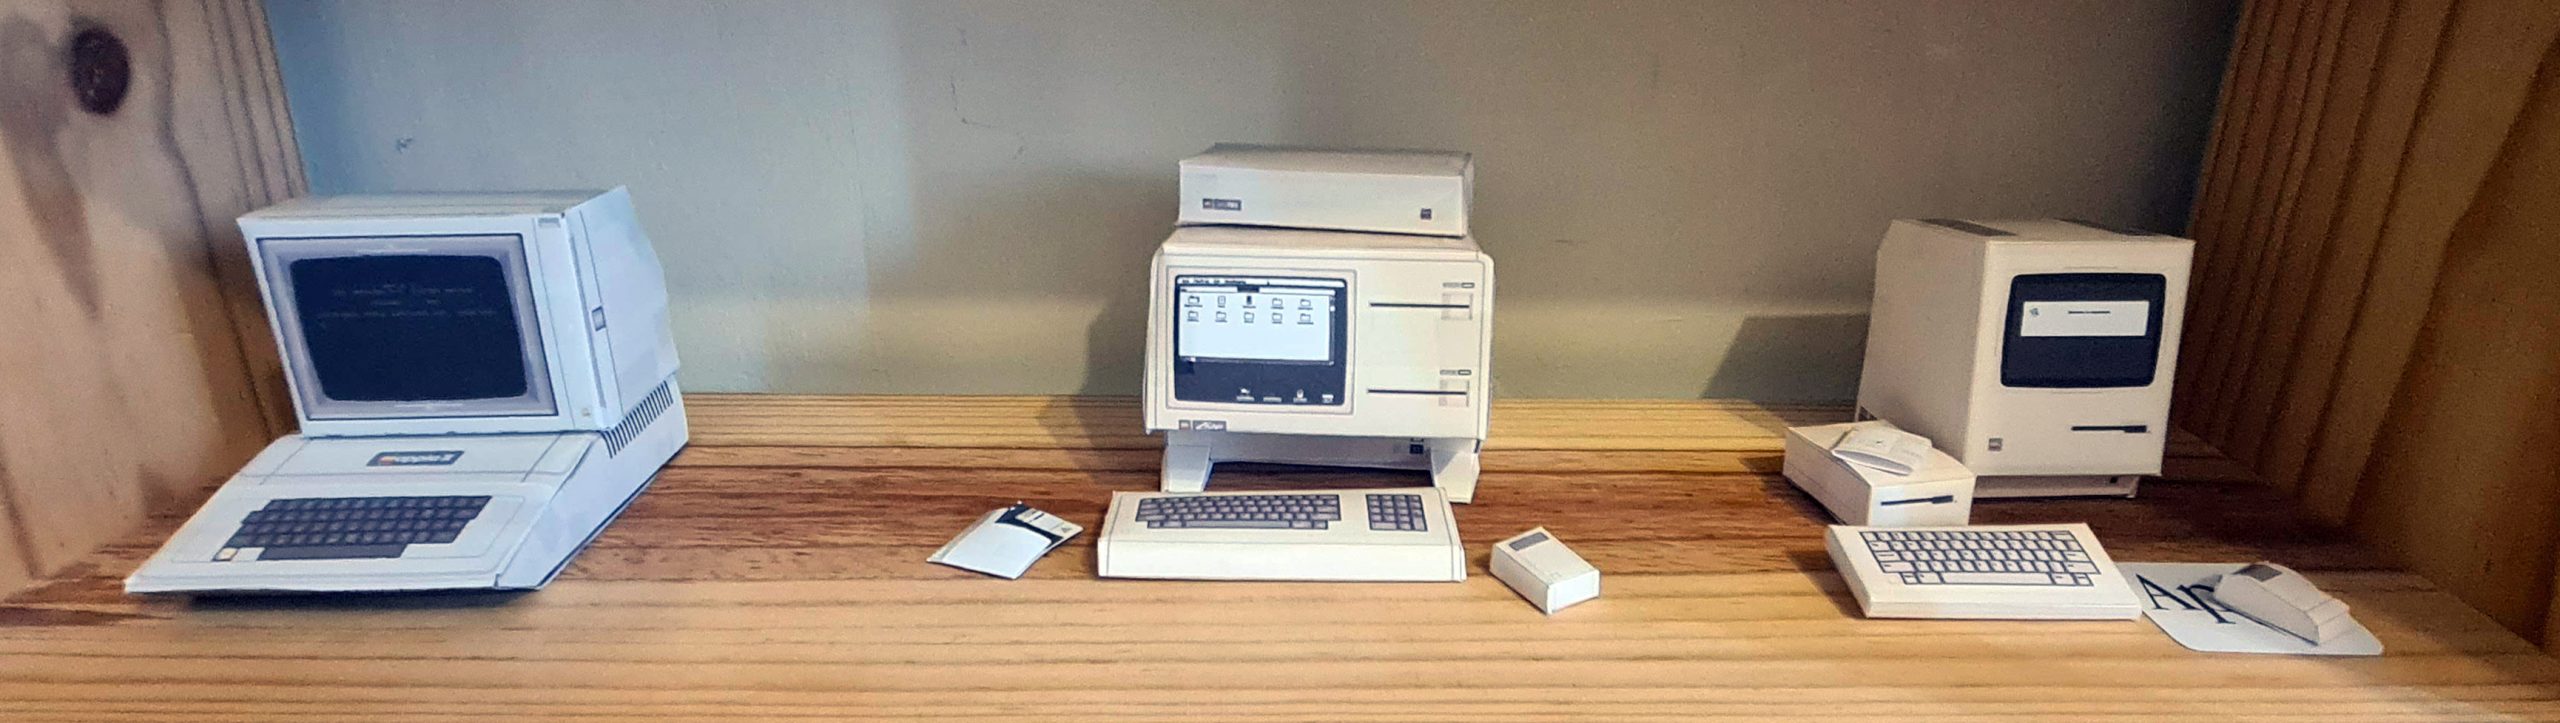
Apple Paper Models
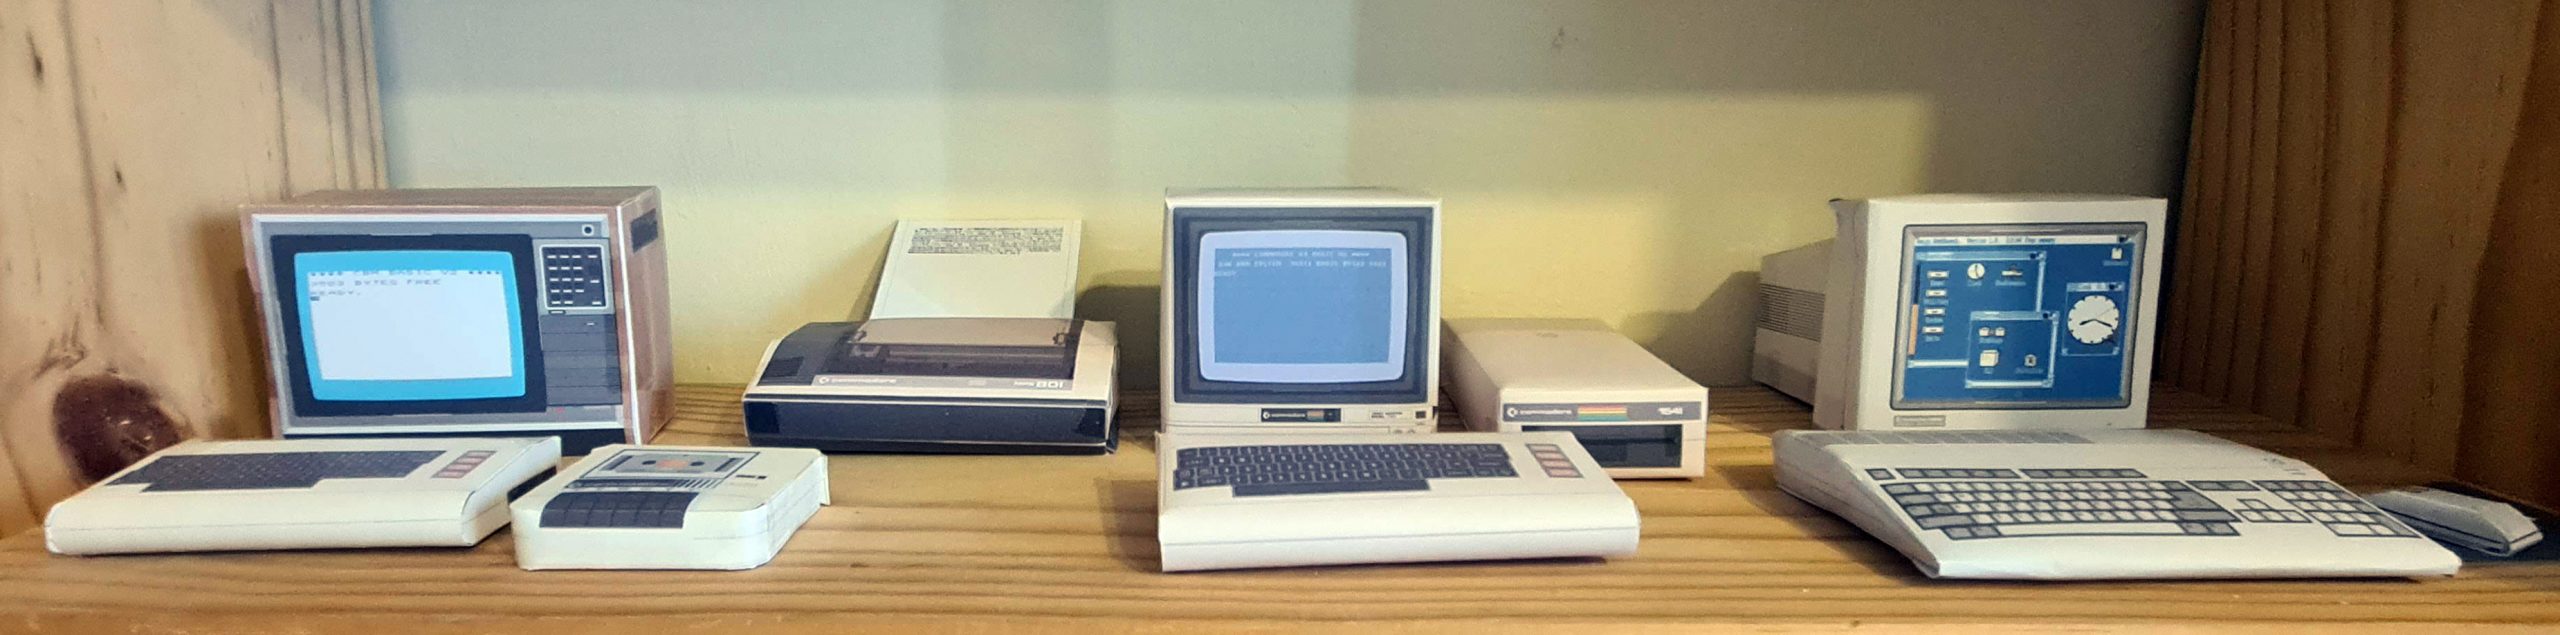
Commodore Paper Models
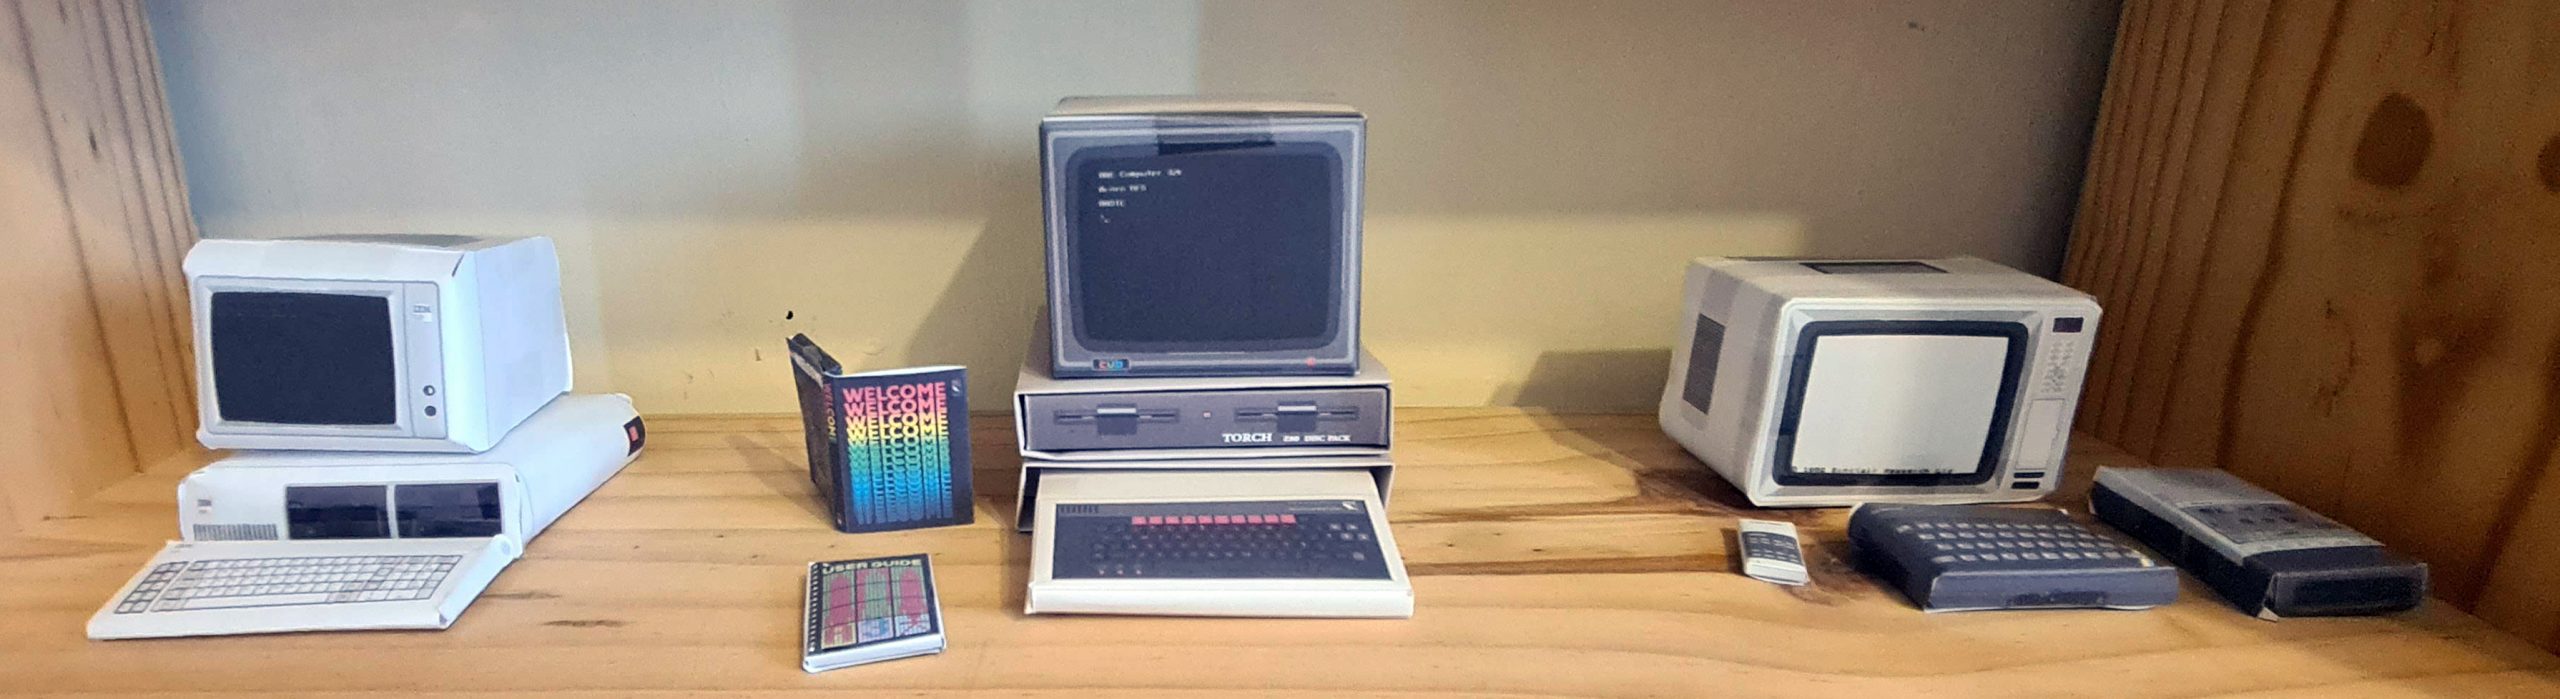
PC BBC Spectrum Paper Models
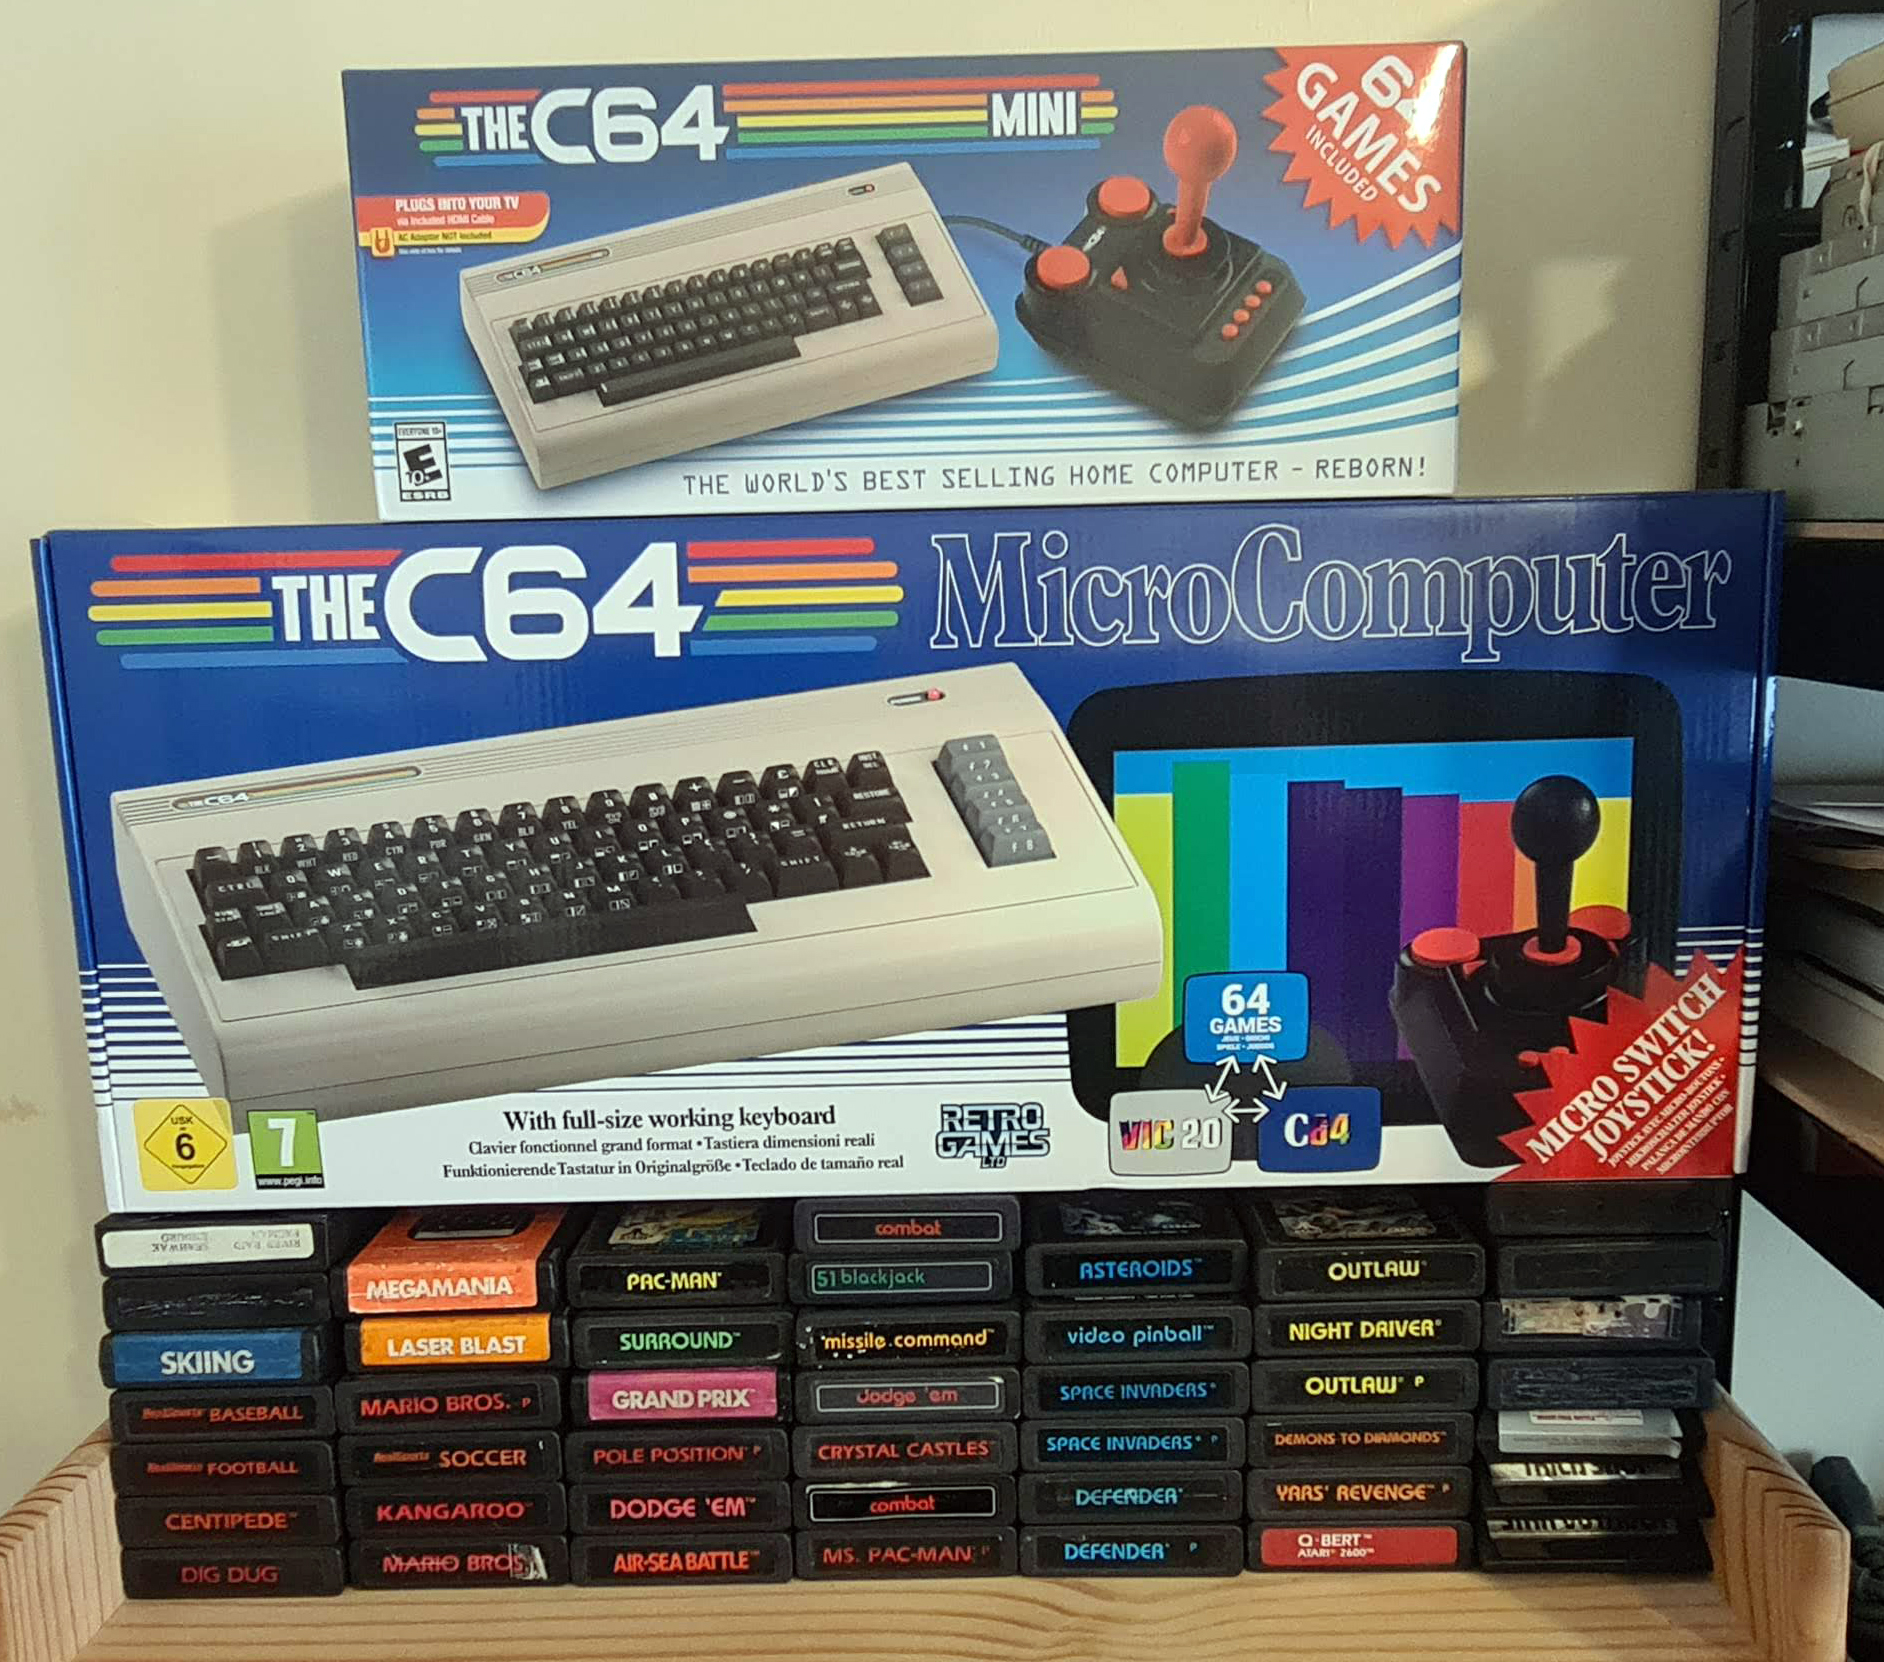
Atari Carts plus TheC64 Boxes
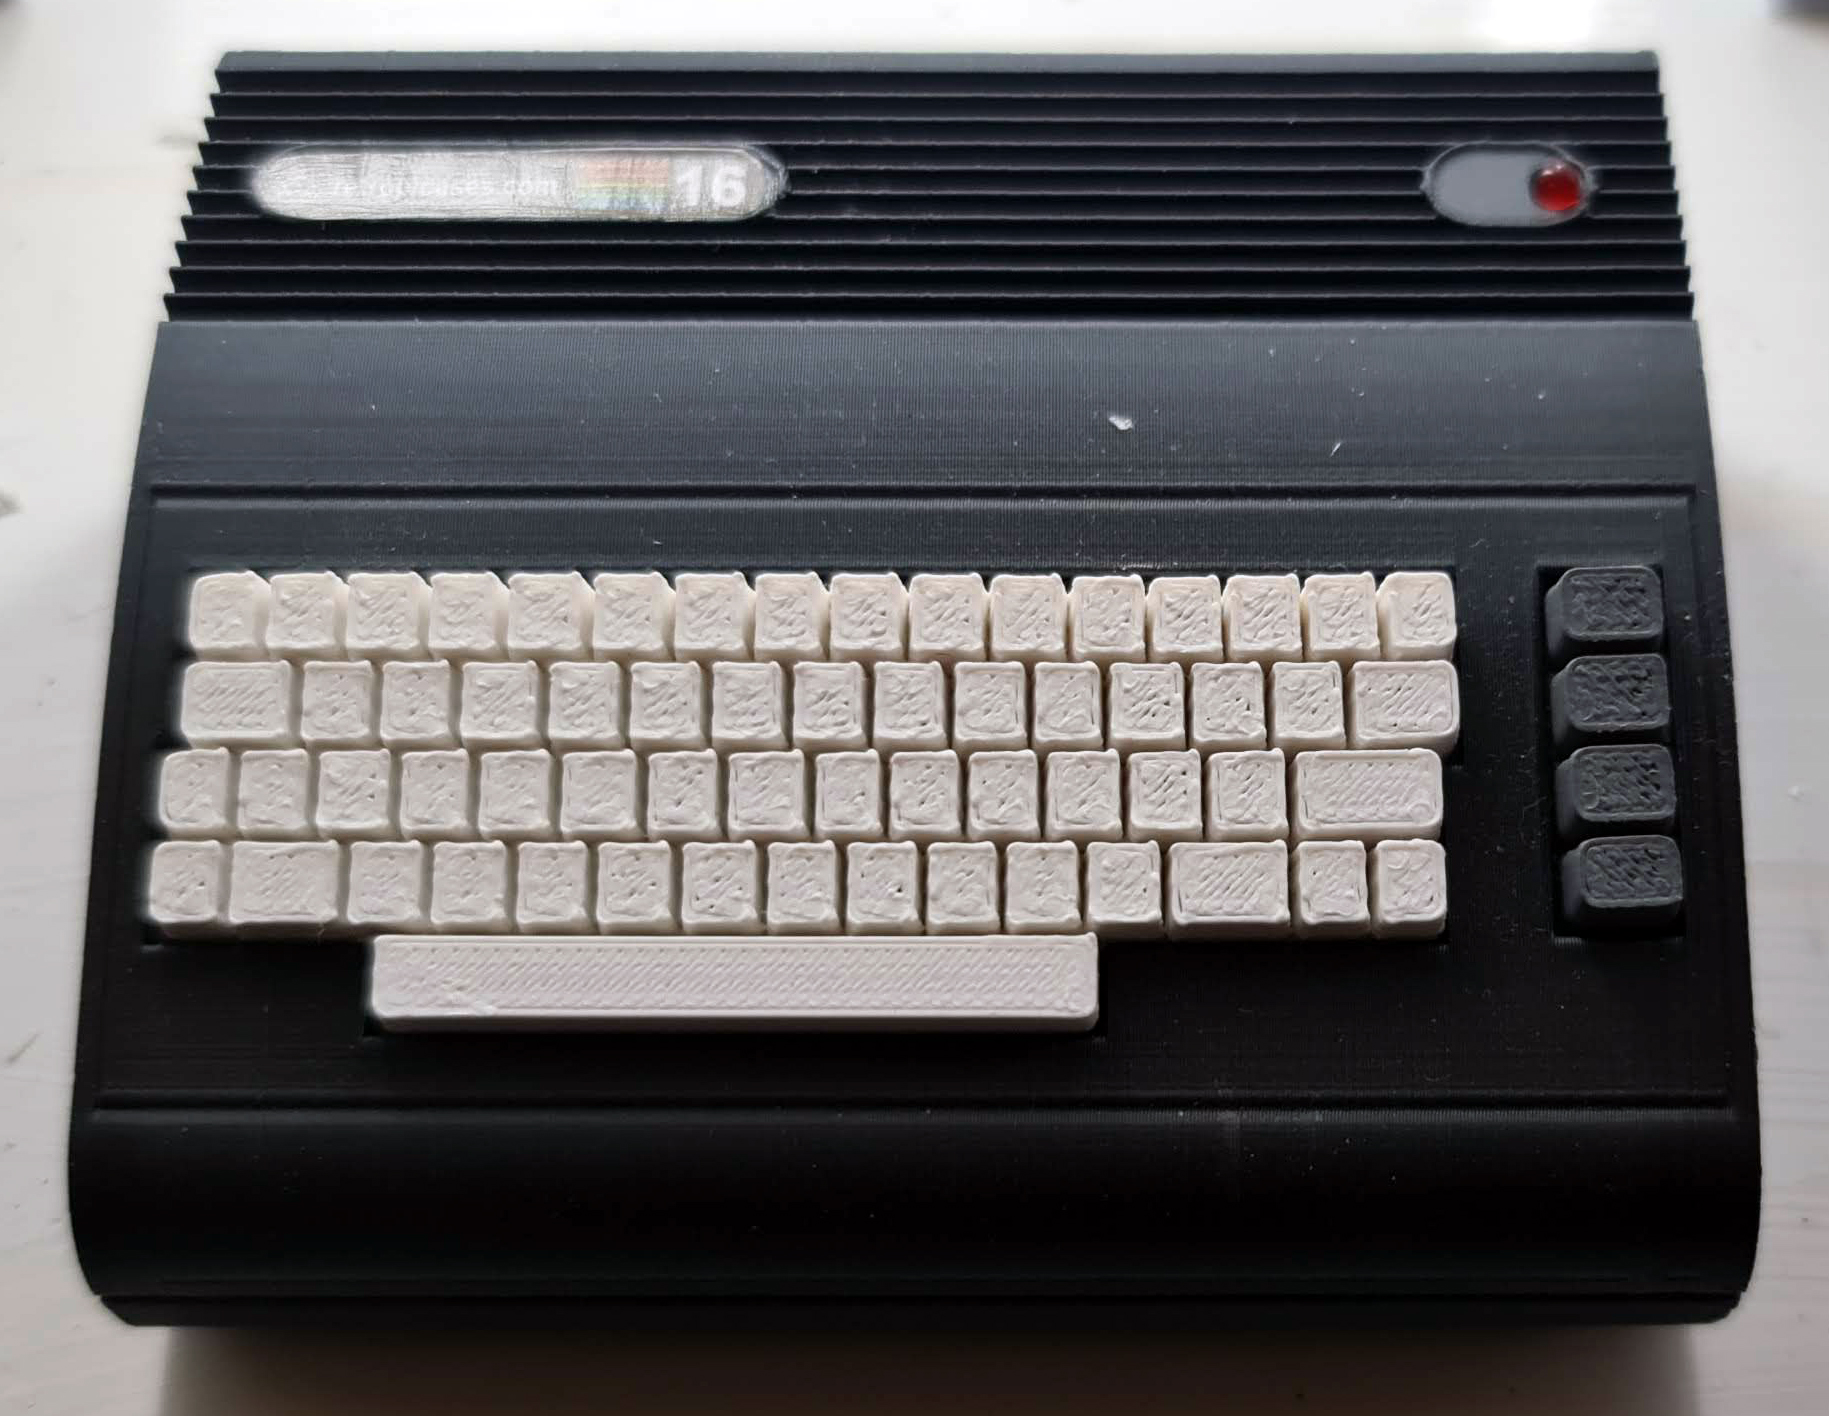
Commodore 16 Pi
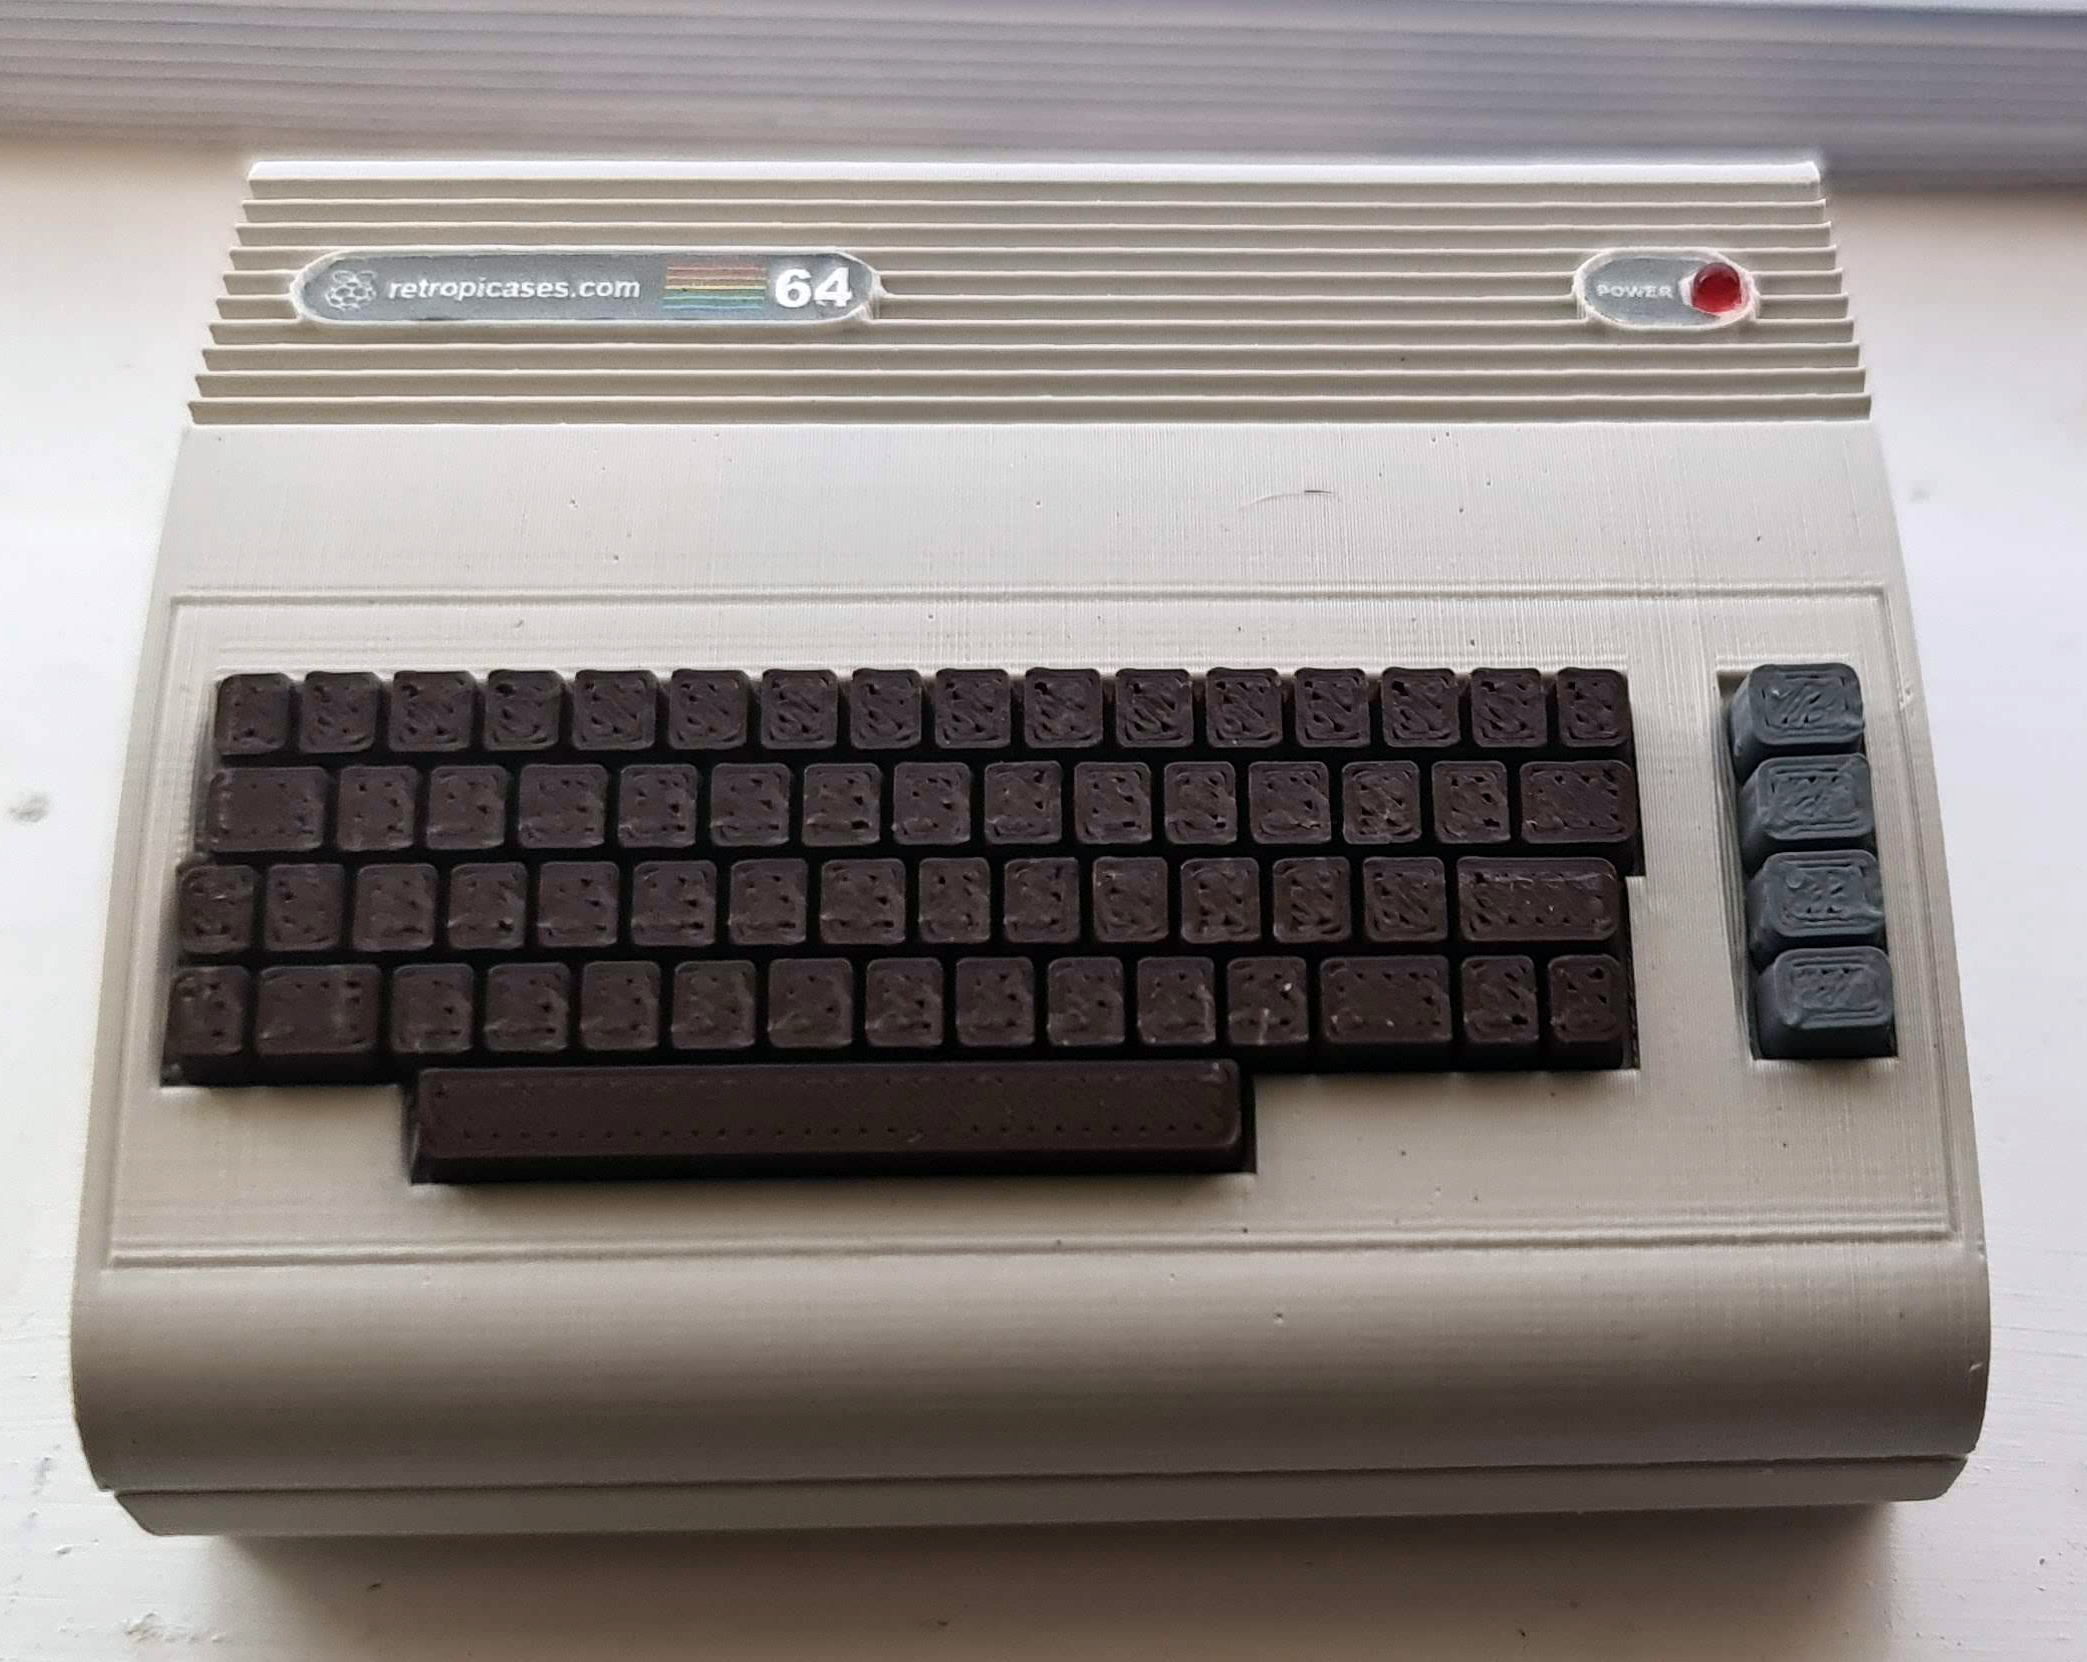
Commodore 64 Pi
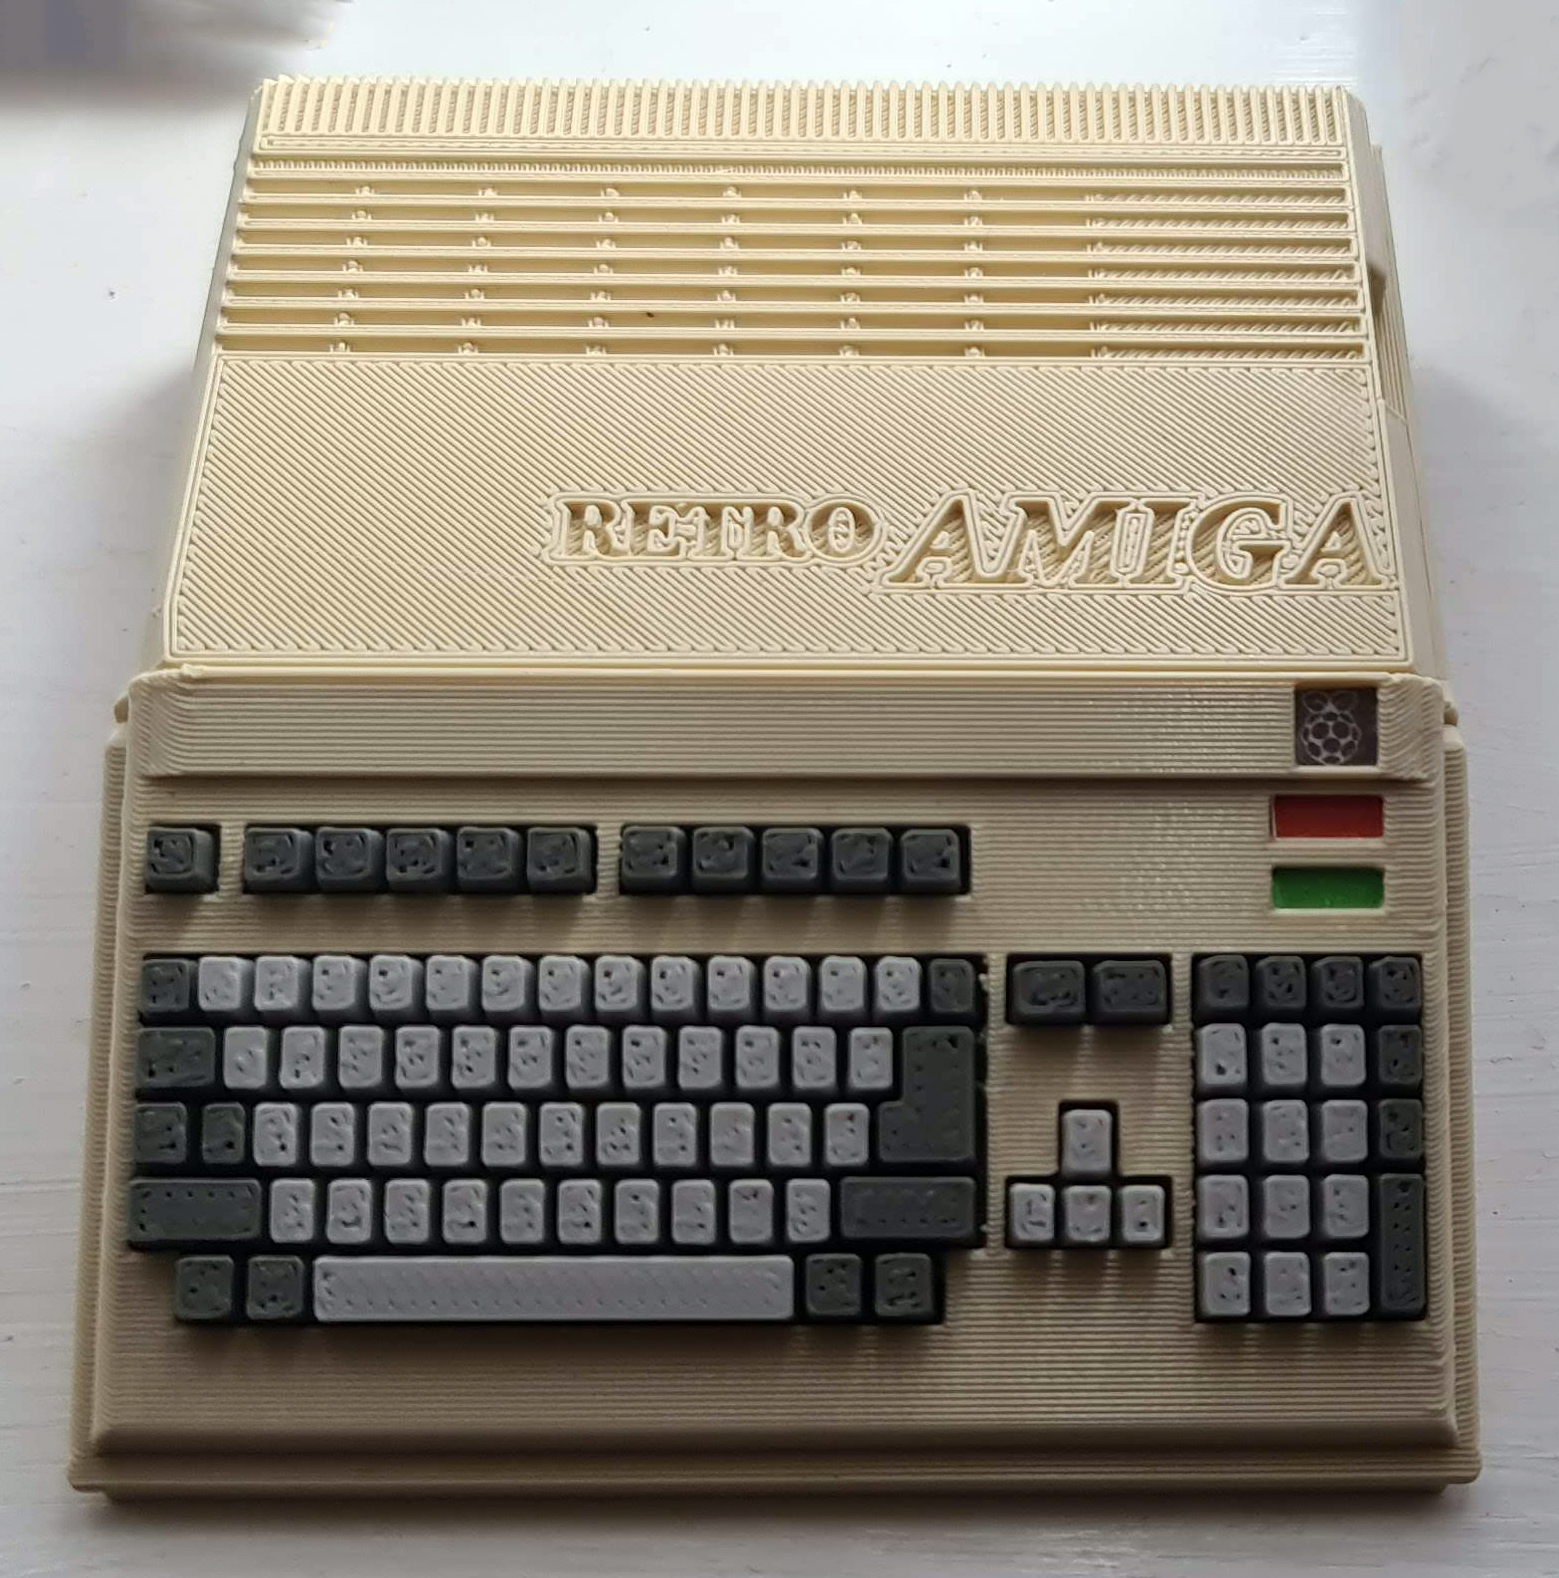
Commodore Amiga Pi
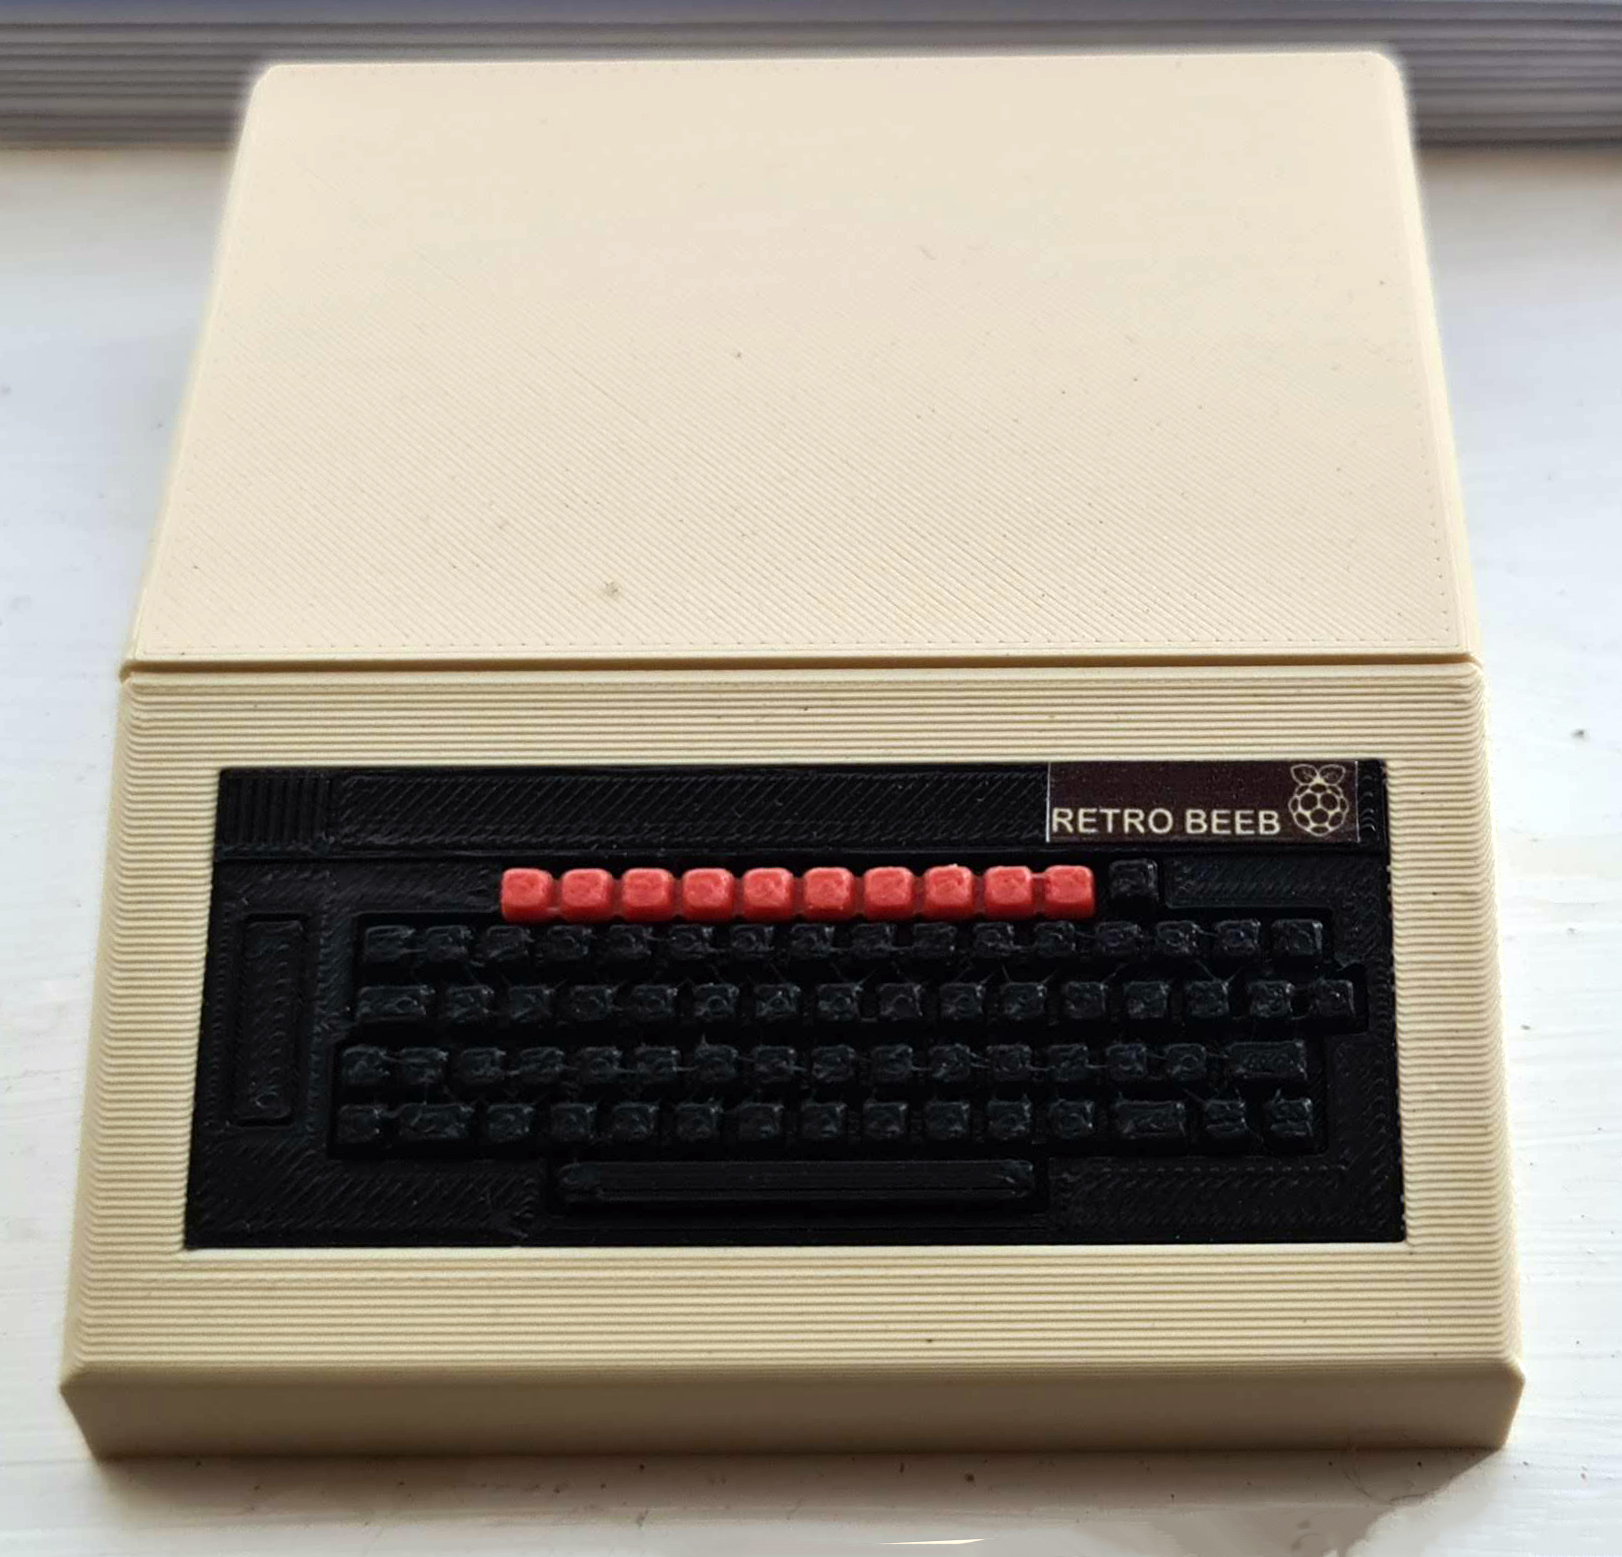
BBC Model B Pi

Commodore Spares

Vic20 Spares